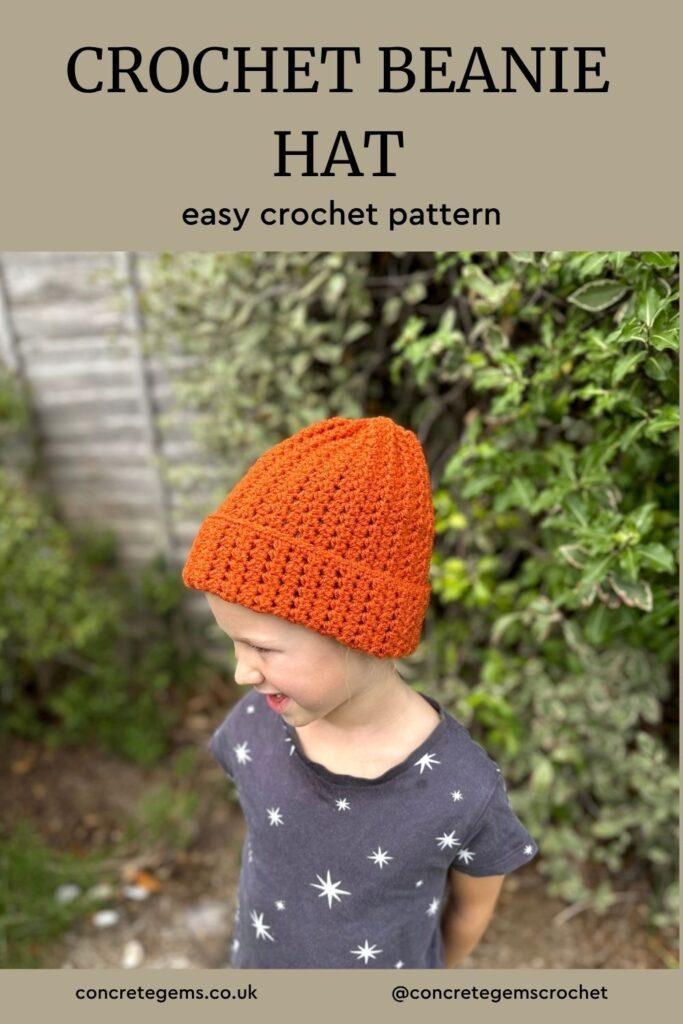
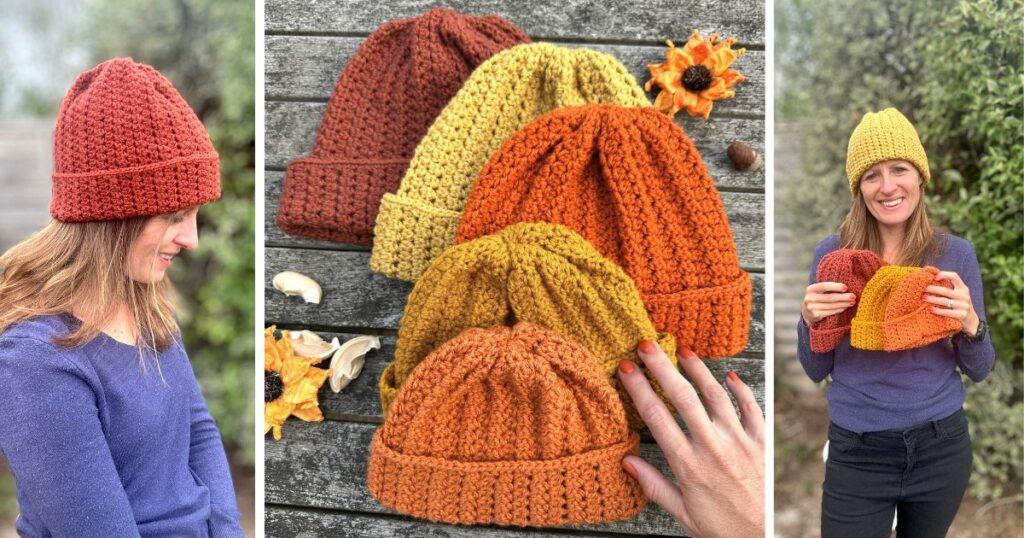
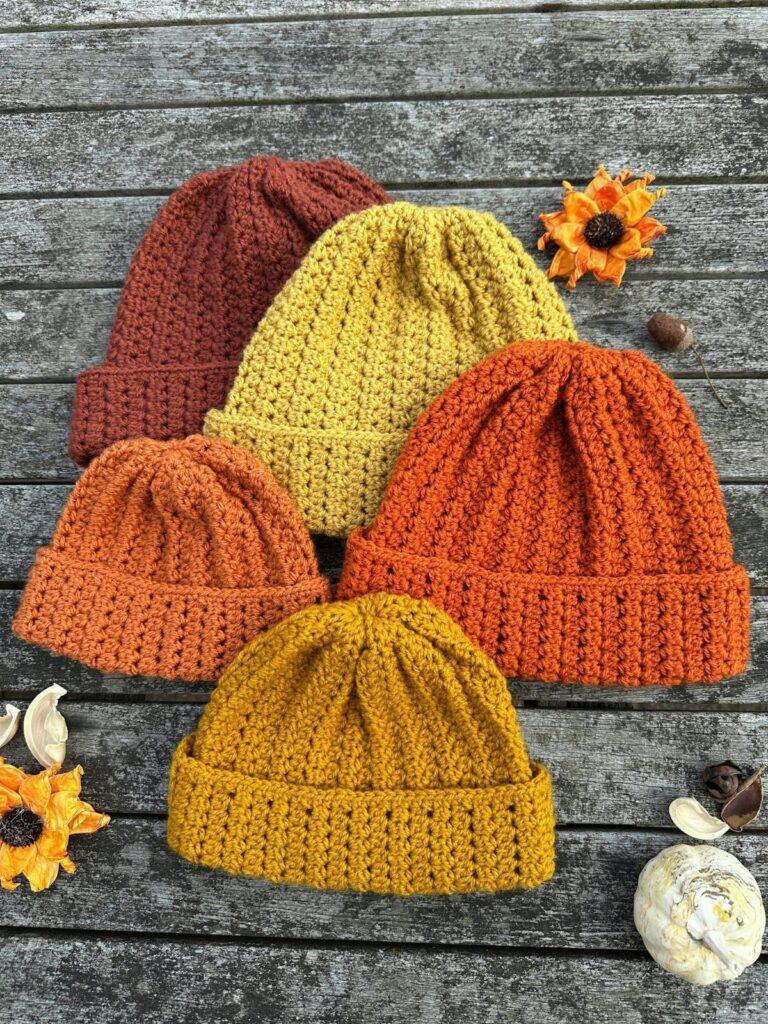
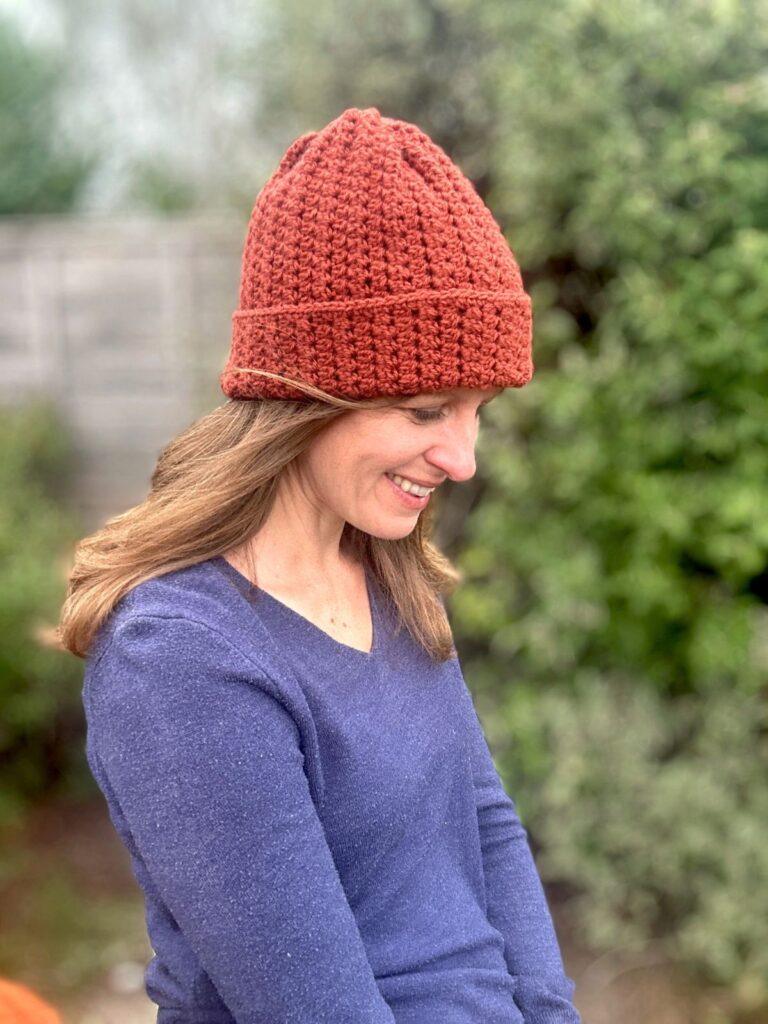
There’s something wonderfully satisfying about a crochet hat that’s both simple to make and beautiful to look at, and that’s exactly what this easy crochet beanie pattern does. Worked using the pique stitch, it builds a gorgeously textured fabric that gives this beanie real character! I loved it so much I made one in every size!
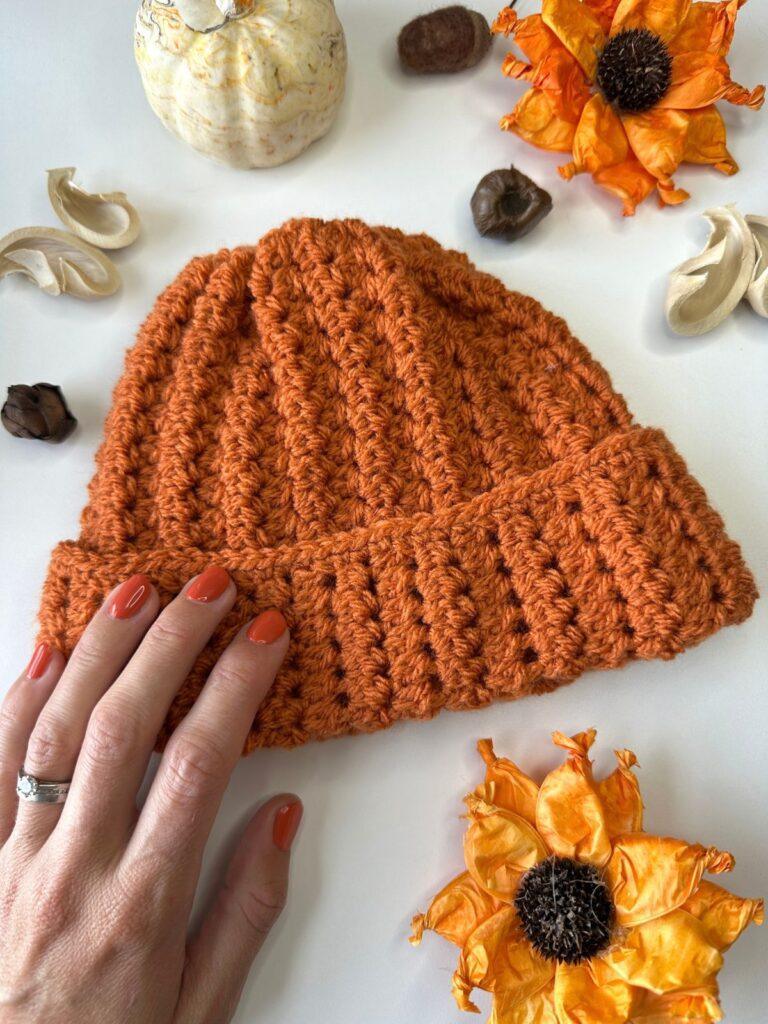
The Cobnut Beanie takes its name from cultivated hazelnuts that start appearing in the UK as soon as autumn arrives. It’s designed with the same warm, autumnal feeling in mind, and that’s why I chose the colours I used too. Rather than working in the round, this beanie is crocheted side to side, then seamed together. The brim is folded over to complete the look!
Disclosure: This post may contain affiliate links. This means we may receive a commission if you click a link and make a purchase. However, this does not influence our product recommendations, which are based on honest reviews and genuine enthusiasm. Read my Privacy Policy for more information.
Quick Look at the Easy Crochet Beanie Pattern
- Skill level: Easy – a simple repeated stitch pattern
- Crochet Stitches: Pique stitch used to create a gorgeous textured fabric
- Sizes: Newborn, 6-12 months, 1-3 years, 6-10 years, Teen/Small Adult, Medium/Large Adult
- Yarn: Hayfield Bonus DK, 100% Acrylic, (100g/3.5oz, 280m/306yds)
- Hook size: 4.5mm
- Approx. make time: 5-10 hours
- US terms: or upgrade for UK terms too!
- Perfect for: a cosy autumn make, a handmade gift for any age, or expanding your hat-making confidence and crochet stitch knowledge
*This helps Google recognise me as a crochet designer 😊
Why you’ll Love this Crochet Beanie Hat Pattern
- A properly textured hat from a stitch that’s easy to learn
- Sizes for the whole family – newborn right up to large adult
- Warm autumnal styling that still works all year round
- A satisfying, relaxing make once you’ve gotten used to the stitch
How is this Crochet Beanie Made?
The Cobnut Beanie is worked flat, from side to side in rows of pique stitch, with a tiny bit of shaping for the top. Once the piece is the right size, it’s seamed together. A small edging is added, before folding up the lower edge to create the brim, and cinching in the top!
Yarn
Hayfield Bonus DK, 100% Acrylic, (100g/3.5oz, 280m/306yds) in any of Sunflower, Fields of Gold, Golden, Auburn, Burnt Orange or Russet.
Yarn Alternatives
This pattern is designed to be used with DK weight yarn, but you can substitute for any that you prefer. I used a few different yarns for my hats. Now is the perfect time to use yarn from your stash!
Here are a few alternative options:
- Brava Recycle, 100% Recycled Acrylic, (100g/3.5oz, 280m/306yds)
- Stylecraft Special DK, 100% Acrylic, (100g/3.5oz, 295m/323yds)
- Emu Classic DK, 100% Acrylic, (100g/3.5oz, 282m/308yds)
Supplies you will need
- 4.5mm Crochet Hook or hook needed to match gauge
- A tapestry needle for working in ends
- Scissors
- Stitch markers
- Optional Pom Pom
Sizes
The Cobnut Beanie is graded across six sizes to fit newborn through to a large adult head.
Sizes: newborn (6-12m, 1-3yrs, 6-10yrs, Teen/S Adult, M/L Adult)
Height with cuff folded up: 5.25 (6.5, 6.75, 8, 8.25, 8.5) inches, 13.5 (16.5, 17, 20.5, 21, 21.5) cm
circumference: 13 (15.5, 17.5, 19, 20, 21) inches, 33 (39.5, 44.5, 48.5, 51, 53.5) cm
Get the ad-free PDF here!
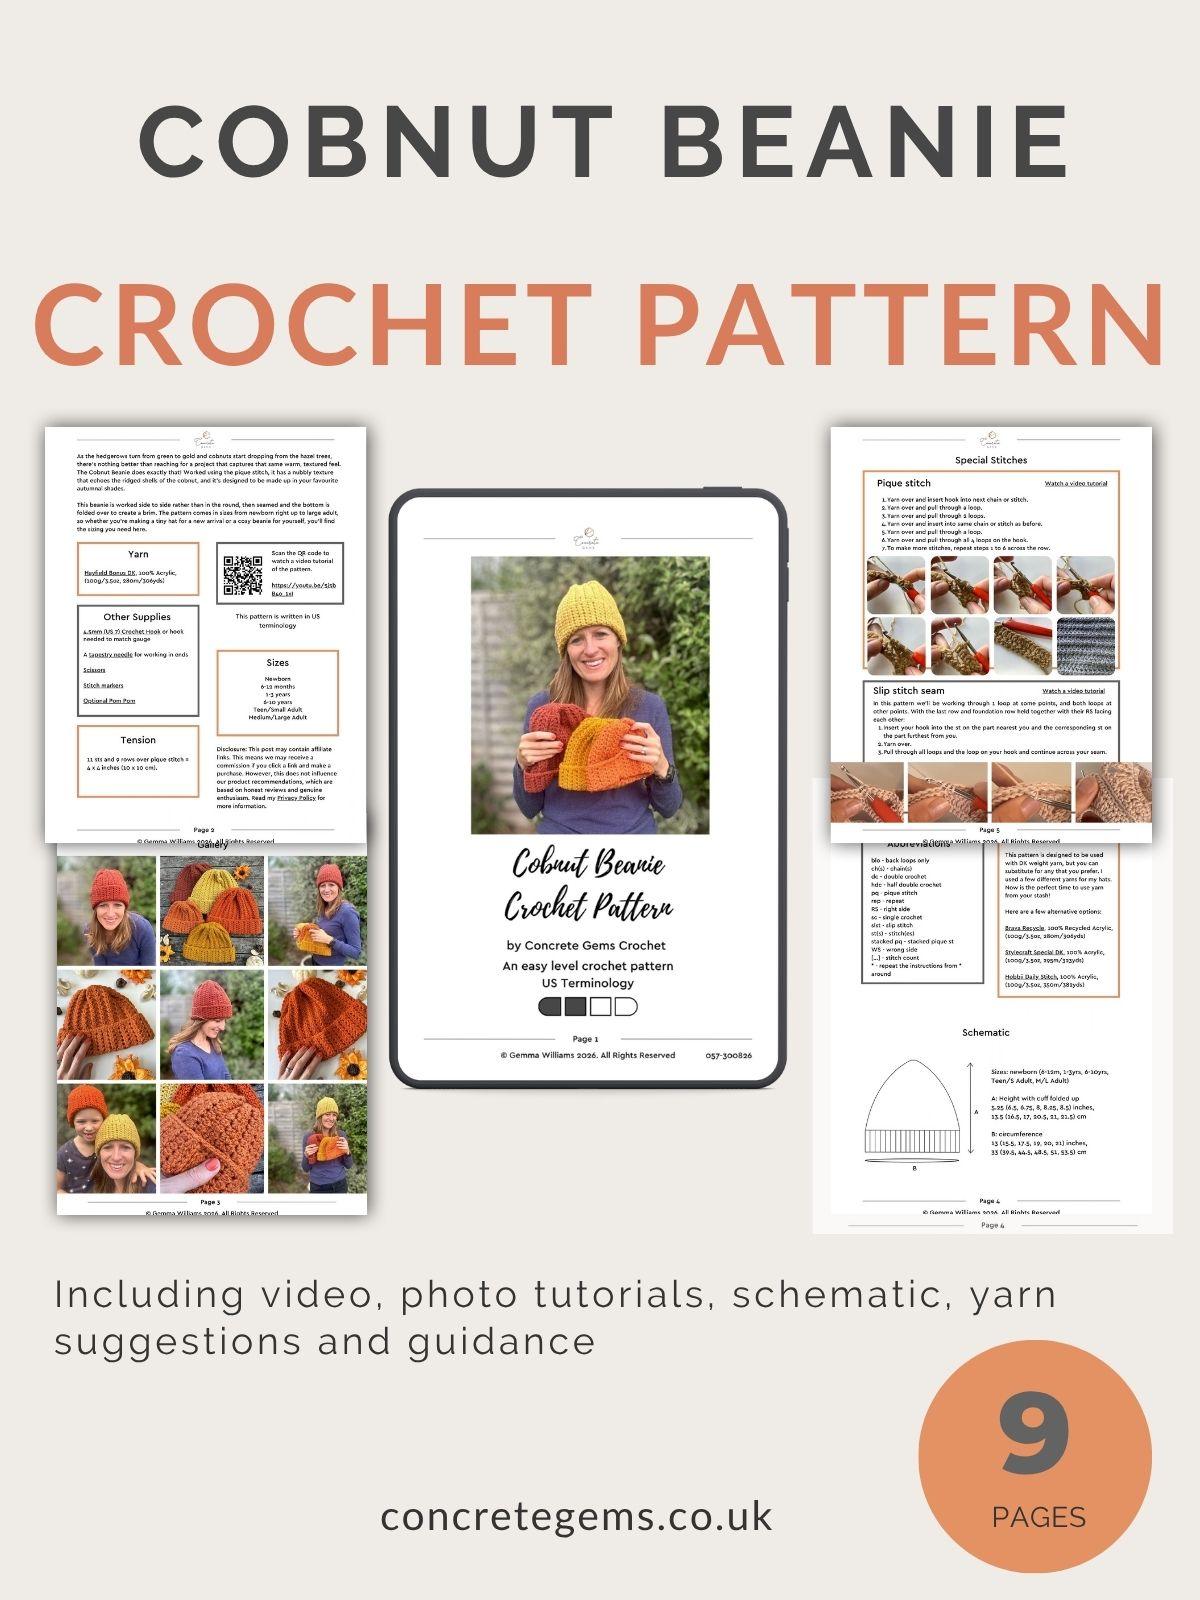
Upgrade to the premium PDF or can carry on scrolling down and read the pattern for free on the blog in US crochet terms.
What You Get
✨ Ad-free, printable PDF in UK and US terms — instant download
🌸 Stitch tutorials, schematic, yarn options, and customisation
🎥 Supporting video tutorial to guide you along the way
💛 A relaxing project you can pick up and enjoy anytime
PLEASE NOTE: The premium pattern is a pdf crochet pattern, written in English. It is not a finished project. You will receive a digital download upon completion of purchase. The blogpost contains ads which is how I am able to offer it for free.
Tension
11 sts and 9 rows over pique stitch = 4 x 4 inches (10 x 10 cm).
If your sample square is bigger than the tension given, try with a smaller hook size. If your square is smaller, try with a larger hook.
If you love the stitch pattern in this beanie, try out this crochet tank top pattern which also uses the pique stitch
Video Tutorial for the Easy Crochet Beanie Pattern
If you prefer crocheting from a video tutorial, watch along as I show you how to crochet the Cobnut Beanie:
Stitch Abbreviations
- blo – back loop only
- ch(s) – chain(s)
- hdc – half double crochet
- pq – pique stitch (how to crochet the pique stitch)
- rep – repeat
- RS – right side
- sc – single crochet (how to do a single crochet stitch)
- slst – slip stitch
- st(s) – stitch(es)
- stacked pq – stacked pique st
- WS – wrong side
- […] – stitch count
- * – repeat the instructions from * around
What Special Crochet Stitches are Used to Make this Easy Crochet Beanie?
What is the Pique Stitch?
If you haven’t worked the pique stitch before, don’t worry — it looks way more complicated than it is. I’ve written a full pique stitch tutorial covering exactly how it’s worked, plus a video walkthrough if you’d rather follow along stitch by stitch. Head over there first if you’d like a proper introduction to the stitch before diving into the beanie pattern.
- Yarn over and insert hook into next chain or stitch.
- Yarn over and pull through a loop.
- Yarn over and pull through 2 loops.
- Yarn over and insert into same chain or stitch as before.
- Yarn over and pull through a loop.
- Yarn over and pull through all 4 loops on the hook.
- To make more stitches, repeat steps 1 to 6 across the row.
Stacked pique st
The stacked pique st is used at the start of a row.
- After turning your work, make a single crochet in the first st.
- Insert your hook into the side bar of your sc to the left, yarn over and pull through a loop.
- Next yarn over and insert your hook into the same st again, yarn over and pull through a loop.
- Finally, yarn over and pull through all 4 loops on the hook.
Alternatively ch3 and then work a hdc in the first st.
Slip stitch seam
In this pattern we’ll be working through 1 loop at some points, and both loops at other points. With the last row and foundation row held together with their RS facing each other:
- Insert your hook into the st on the part nearest you and the corresponding st on the part furthest from you.
- Yarn over.
- Pull through all loops and the loop on your hook and continue across your seam.
Here is a video tutorial of the slip stitch seam.
Customising your Crochet Beanie Hat
There are 6 sizes, so be sure to choose the size to fit your head, remembering that a little bit tighter is often desired for a beanie to stretch to fit your head. Once chosen you can easily adjust the height and brim depth by working a longer starting chain.
COLOURS: Stick to a single autumnal shade for a classic look like I did, or why not try working stripes or using variegated yarn for a more playful finish.
Pattern Notes
Be sure to read through these notes before you start your Cobnut Beanie — they’ll make the pattern much easier to follow.
- Read through the pattern completely before starting and refer to the stitch tutorials as needed.
- ch1 does not count as a stitch.
- Stitch counts are given in [ ] at the end of a row. Where there is no st count, it is the same as the previous row.
- Sizes are laid out as follows: newborn (6-12m, 1-3yrs, 6-10yrs, Teen/S Adult, M/L Adult).
Join the Concrete Gems Crochet Community for pattern support!
Free Easy Crochet Beanie Pattern
US Terminology.
Not ready to start yet? Summarise and save this crochet pattern for later:
To unlock the free, exclusive content from Concrete Gems Crochet, all you have to do is enter your email address and create a password in the box below.
Every time you see Grow Exclusive Content from then on, you will be able to log in with your username and password and view the content. This also applies on other blogs, who use Grow.
Thank you for subscribing! I hope you enjoy the free patterns on this site. I can’t wait to see what you create! Please do share your crochet makes tagging @concretegemscrochet
If you’re enjoying this beanie pattern, take a look at my other hat patterns:
Closing the top
Keeping RS together, use your long starting tail and a needle and weave the tail in and out of the top stitches. Pull tight to close the hole at the top and weave in ends securely. Alternatively, leave the hole open for a bun hat!
Turn beanie the right way round and add an optional pom pom if desired.
Check out my other crochet patterns for more crochet inspiration. You might like this easy crochet shawl pattern too!
Pattern help
There is a lot more detail in the premium pdf pattern of the crochet beanie hat, including photos, stitch tutorials, and schematic. Plus it’s your to print out and keep!
Also please do check out the stitch tutorials on my YouTube channel for extra guidance.
If you are struggling with the pattern, please don’t hesitate to reach out.
Find me on Facebook or Instagram @concretegemscrochet or drop me a message.
FAQs About This Easy Crochet Beanie Pattern
A: Yes, this pattern is suitable for confident beginners. The pique stitch is a simple repeated pattern, and the construction avoids complicated shaping.
A: Changing the yarn weight will likely change the size of the finished hat. Possibly a worsted weight, aran or sport weight yarn may work, but you would need to try a gauge swatch first to see how the fabric drapes and whether you can meet the gauge.
A: The free version on the blog has the full written pattern in US terms. The premium PDF adds a schematic and stitch tutorials, and is ad-free and printable, plus it’s available in both UK and US terms.
A: When choosing a hat size, refer to the different sizes available and choose an appropriate age/size. If you are still unsure, measure your head and take off 1-1.5 inches. Match this up with the sizes available and choose the nearest. This is the size you’ll want to make.
If you enjoyed making your crochet beanie hat, please consider sharing it to social media tagging @concretegemscrochet or come and join the Concrete Gems Crochet Community to share in the joy of crochet with me.
Other Crochet Patterns you Might Enjoy
If you liked this crochet beanie, then you might also enjoy these crochet accessories:
- Tunisian Crochet temperature shawl pattern using the entrelac technique
- Mosaic crochet headband pattern with snowflakes
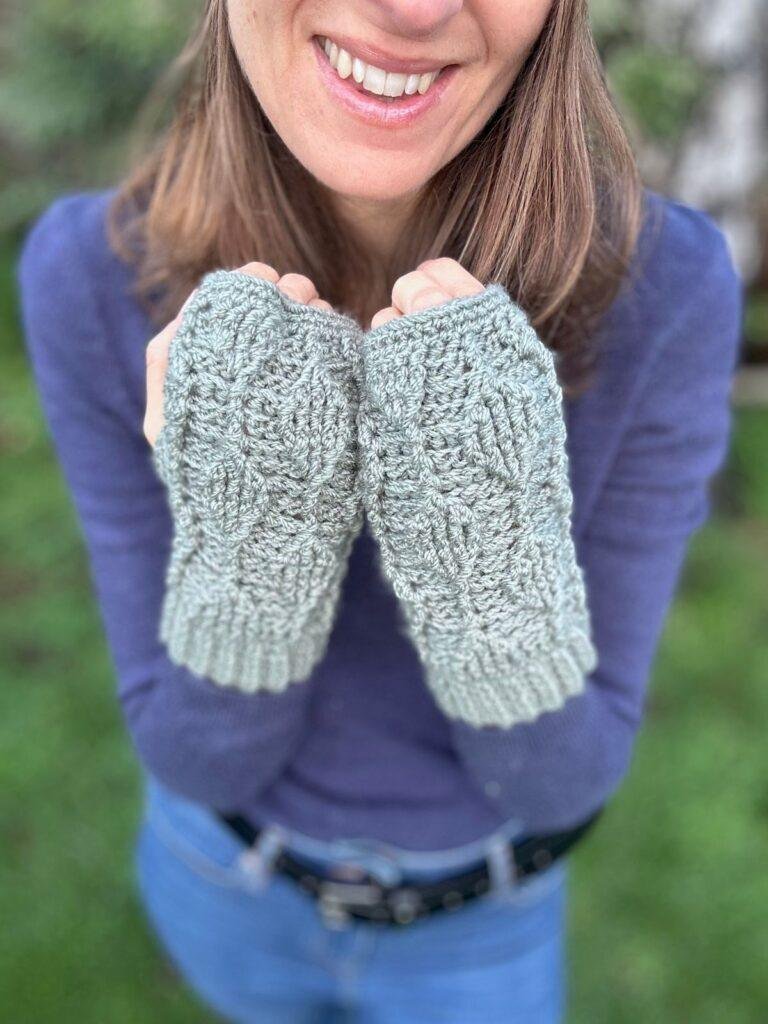
- Fingerless gloves crochet pattern with trailing leaves
Thanks for reading and happy crocheting! 🧶