Tunisian crochet entrelac can look complex at first glance, but once you understand how the structure works, it becomes a beautifully rhythmic and surprisingly approachable technique.
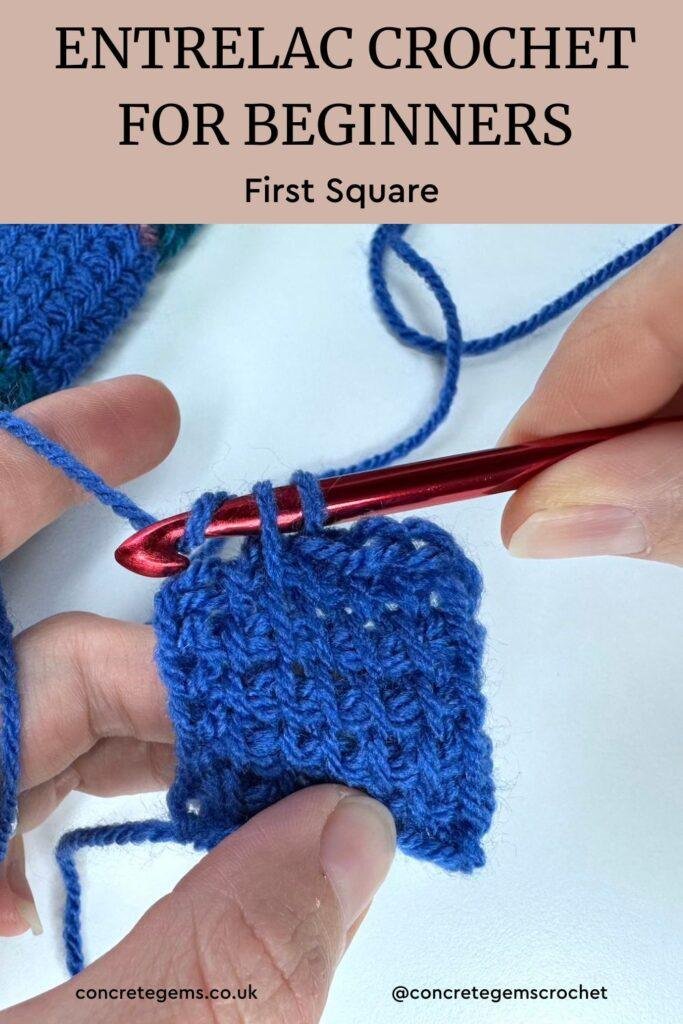
In this tutorial, I’ll walk you through how to start Tunisian crochet entrelac by making the very first square, step by step. This first square forms the foundation of the entire project, so taking the time to get it right will make everything that follows feel much more intuitive and enjoyable.
Entrelac is built in stages, with each row made up of different types of squares that work together to create that woven, basket-like effect. The first square is a little different from the others — it sets the direction, size, and structure for the whole piece. Once you’ve mastered this starting square, you’ll be perfectly placed to move on to the initial, joining, and final squares that repeat throughout the rest of an entrelac project.

Disclosure: This post may contain affiliate links. This means we may receive a commission if you click a link and make a purchase. However, this does not influence our product recommendations, which are based on honest reviews and genuine enthusiasm. Read my Privacy Policy for more information.
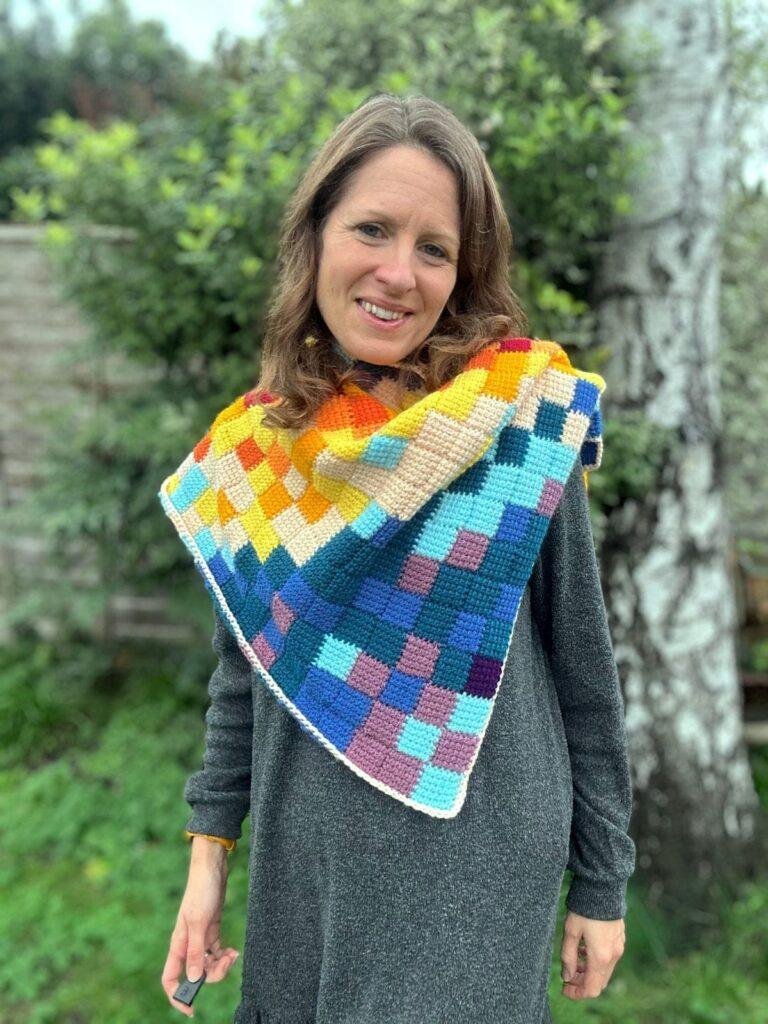
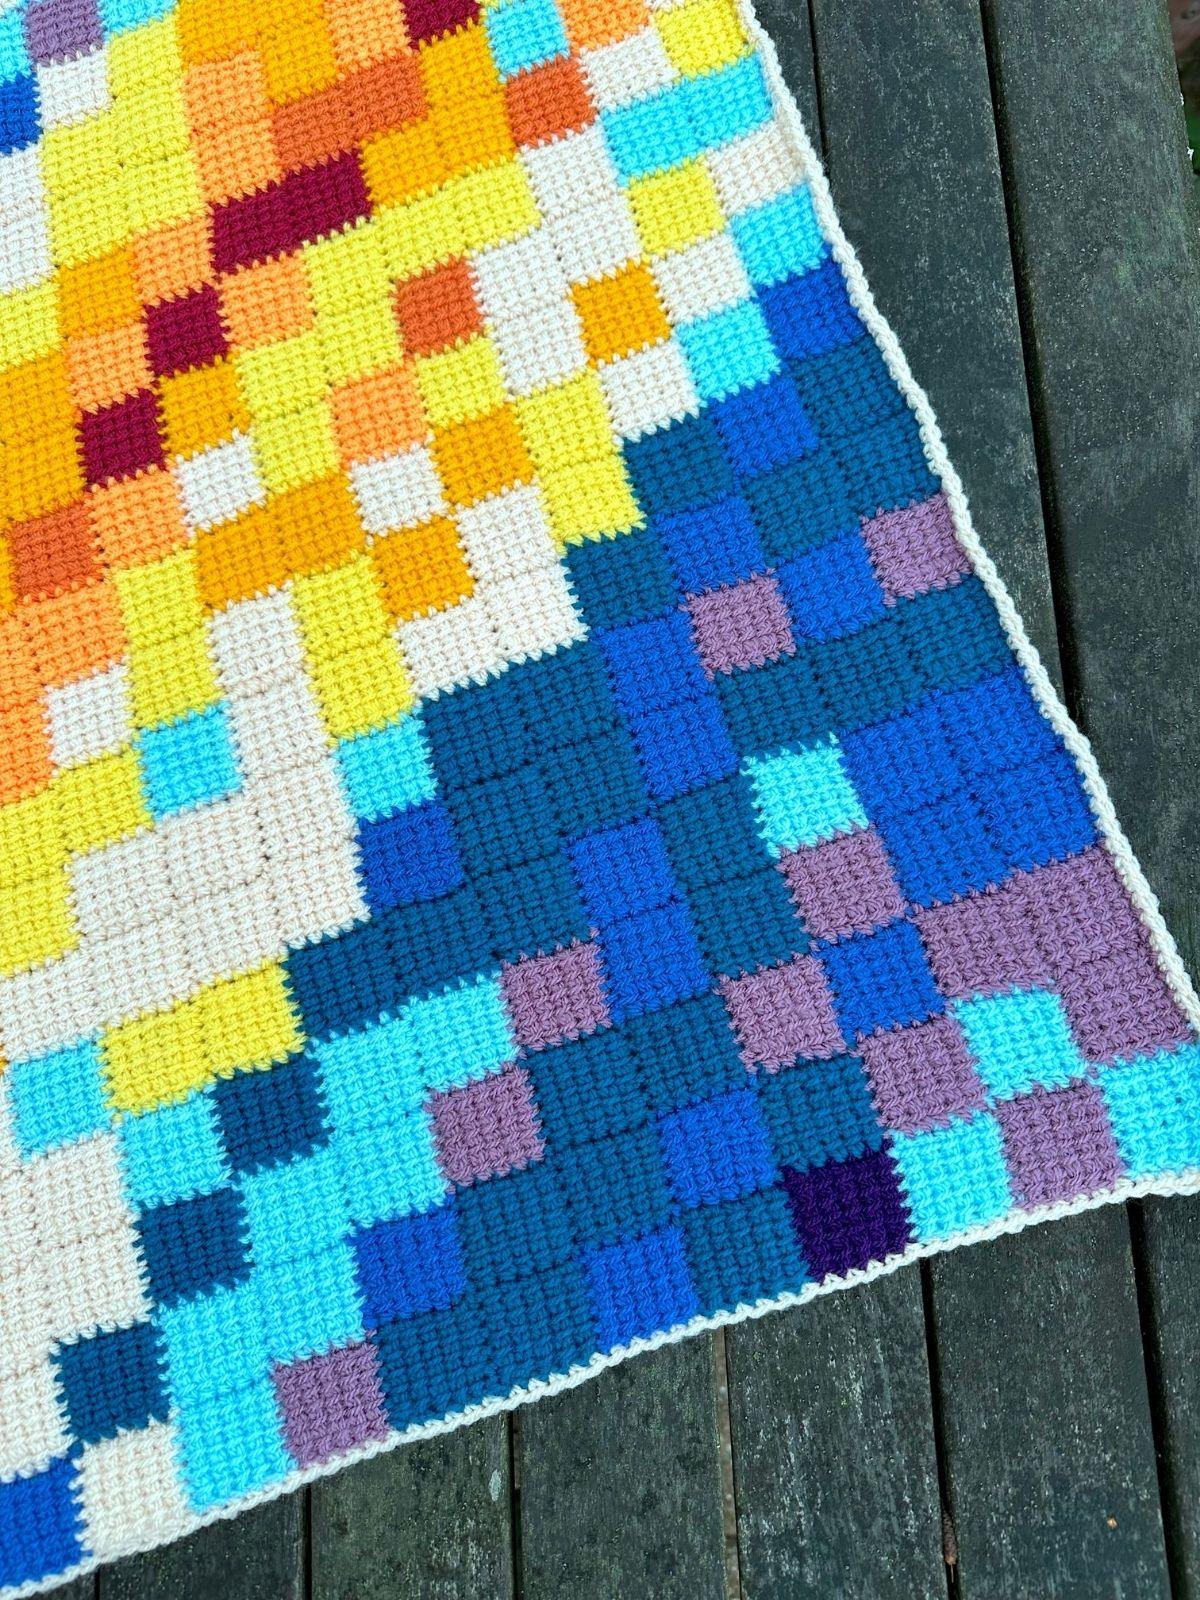
This first square tutorial is the starting point for my Tunisian Entrelac Temperature Shawl, a slow, year-long project where you create one small square for each day of the year based on the temperature. Each square becomes part of a growing, textured fabric that tells the story of your year in colour and stitch. Whether you’re following along with the temperature shawl or simply learning Tunisian crochet entrelac for the first time, this tutorial will guide you through the process calmly and clearly, one stitch at a time.
Head over to the Tunisian Entrelac Temperature Shawl crochet pattern and find out more about this stunning year-long project.
One small square per day, beautiful texture, and a project that actually feels fun to come back to.
What is Tunisian Crochet?
Tunisian Crochet, also sometimes called Afghan crochet, is a technique that combines elements of both crochet and knitting. Like crochet, you use a hook, but this is usually elongated with a stopper on the end. For this project, you will just need to use a hook with a straight shaft. Like knitting, you work multiple loops onto the hook at once. The resulting fabric is thicker and denser than regular crochet, with a less stretchy texture. There are a large variety of Tunisian stitches available, some resembling knit stitches and others offering unique textures.
Click here to watch an introductory tutorial on Tunisian Crochet and the Tunisian simple stitch.
With Tunisian Crochet, the right side of the work always faces you. Each row of Tunisian Crochet consists of a forward pass and a return pass. The forward pass varies for different stitches, whilst the return pass is largely the same for all Tunisian stitches. If you are right handed, you will work from right to left for the forward pass. If you are left handed, you will work from left to right for the forward pass.
Tunisian Crochet Stitches
Set up Row
- Make a normal crochet chain of the number of stitches you require.
- Insert your hook into the back bump of the 2nd chain from the hook.
- Yarn over and pull through a loop (2 loops on your hook).
- Keep repeating steps 2 and 3 adding more loops onto your hook, until you reach the end of the chain. You should then have the same number of loops on your hook as the number of chains you made initially.
This and the return pass are shown in the tss video tutorial
Return Pass
If you are right-handed you will have done your set up row working from right to left, and now you are going to work back along the row from left to right. If you’re left handed, this will be the other way round.
- Chain one.
- Yarn over.
- Pull through two loops.
- Repeat steps 2-3 until you have one loop left on your hook.
Tunisian Simple Stitch Forward Pass
This is probably the most basic of the Tunisian Crochet stitches and the one used in this entrelac shawl. Once you have completed the set up row and return pass, you have one loop on your hoop. This is the first stitch of the row.
- Insert hook under the front vertical bar of the second stitch.
- Yarn over.
- Pull through a loop.
- Repeat steps 1-3 instead working into the next vertical bar of each stitch across to the last stitch.
- The last stitch is slightly different. After picking up a loop in every vertical bar, you will still need to work the last stitch to get the right number of loops on your hook. Remember you need the same number as the number of starting chains.
- To make the last stitch, turn your work to look at the end and insert your hook into the 2 loops of the chain 1 that we made at the start of the return pass. Yarn over and pull through a loop.
- Following the forward pass, you will then carry on to do a return pass to complete the row.
How to Start Tunisian Crochet Entrelac
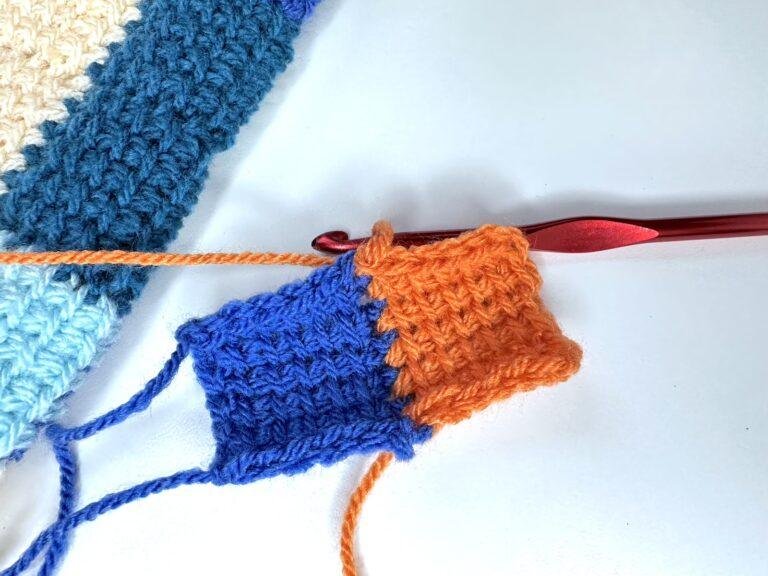
Tunisian Crochet Entrelac is worked using four different types of squares, each with its own role in the structure of the fabric. You begin with a First Square, which starts the project. The second row joins to the first square and starts with an Initial Square, followed by a Final Square.
Each subsequent row then begins with an Initial Square, followed by one or more Joining Squares that connect into the previous row, and ends with a Final Square to neatly close the row. Once you understand how these four squares work together, you can confidently tackle any entrelac project — including large, long-term makes like a temperature shawl.
This blogpost tackles the First Square.
First Square Step by Step
You will need
You can try this tutorial with any yarn and a corresponding hook. I used:
Stylecraft Special DK, 100% Acrylic, (100g/3.53oz, 295m/323yds)
5.0mm Crochet Hook with a straight shaft or hook 1mm larger than recommended for your yarn
Tapestry needle for working in ends
Stitch markers (optional)
Pin this Tunisian Crochet Entrelac First Square Tutorial to Your Crochet Pinterest Board for Later
Tunisian Crochet Entrelac YouTube Video Tutorial
If you prefer crocheting from a video tutorial, watch as I crochet the Tunisian entrelac temperature shawl. The first square is shown from timestamp 12:10.
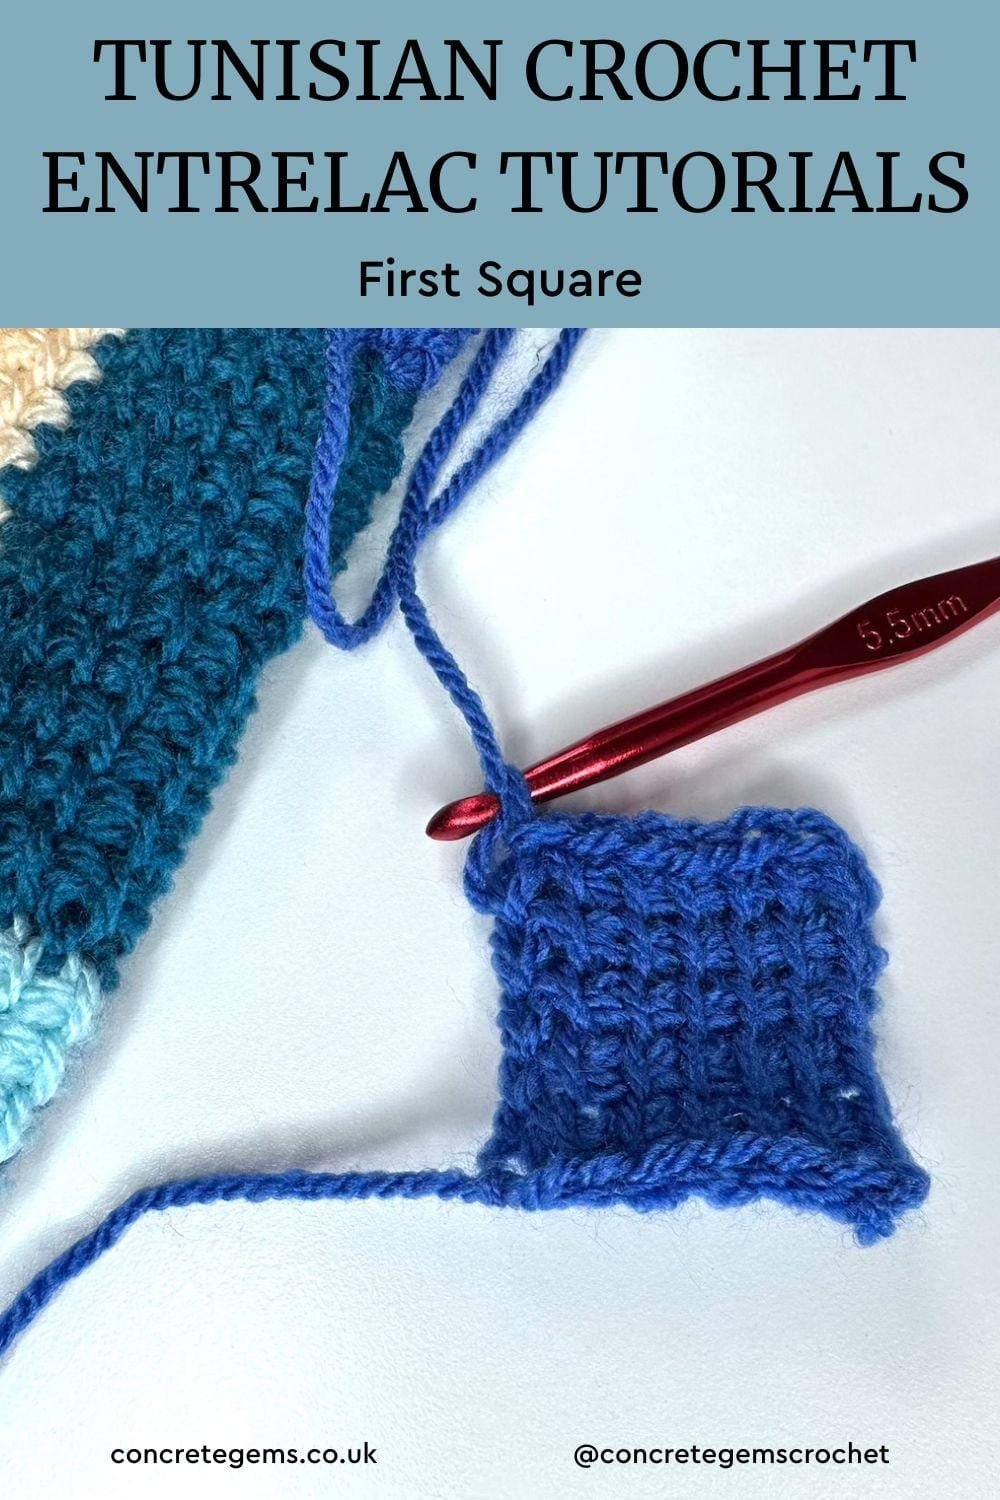
How to Do an Entrelac First Square? – Photo Tutorial
Step 1: put a slipknot on your hook and chain 7.
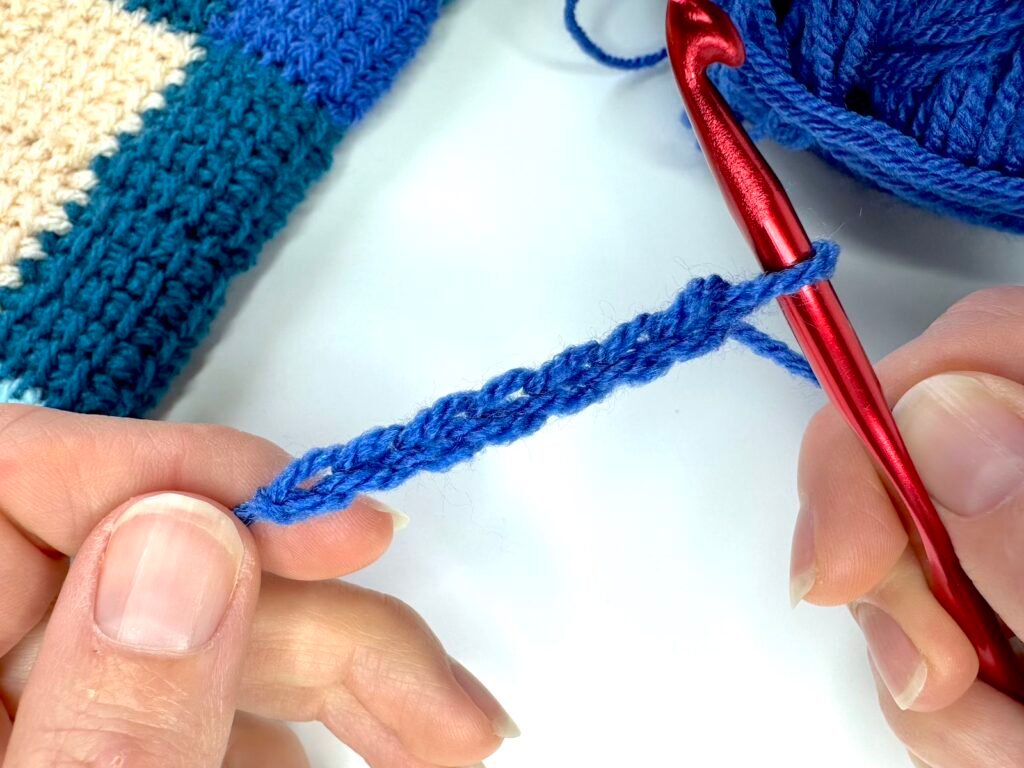
Step 2: Working in the back bumps, insert your hook into the back bump of the second chain from hook, yarn over and pull through a loop. Repeat across the chain until you have 7 loops on your hook.
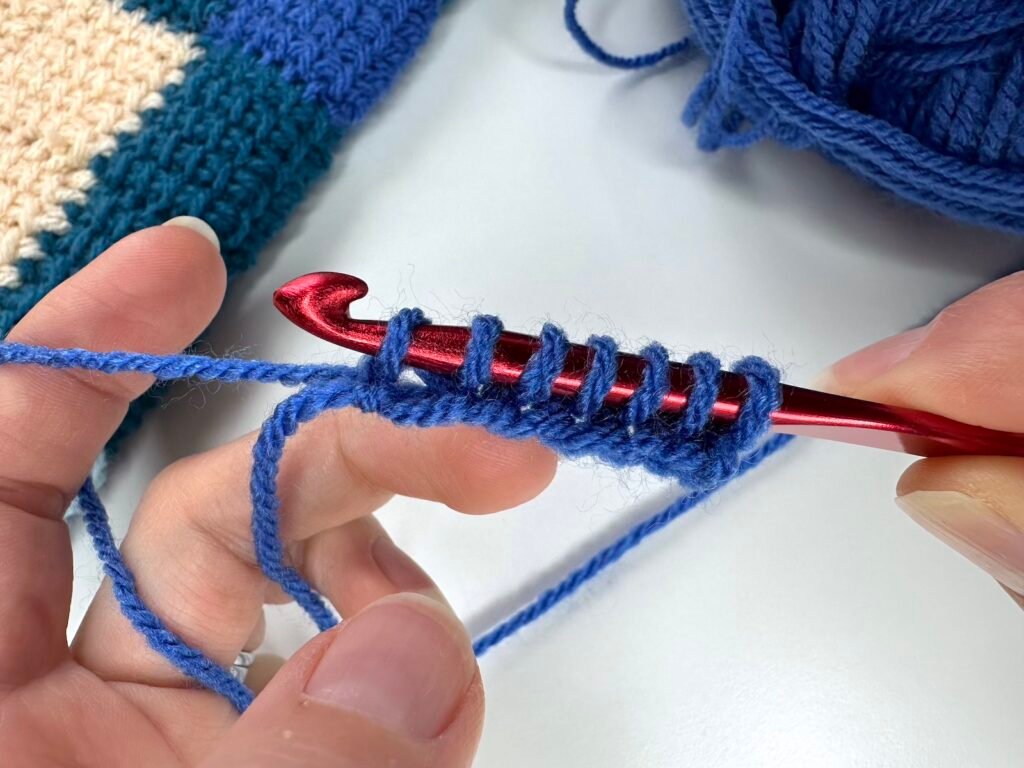
Step 3: Chain 1. *Yarn over and pull through 2 loops on your hook. Repeat from * across until you have 1 loop on the hook. This is the return pass.
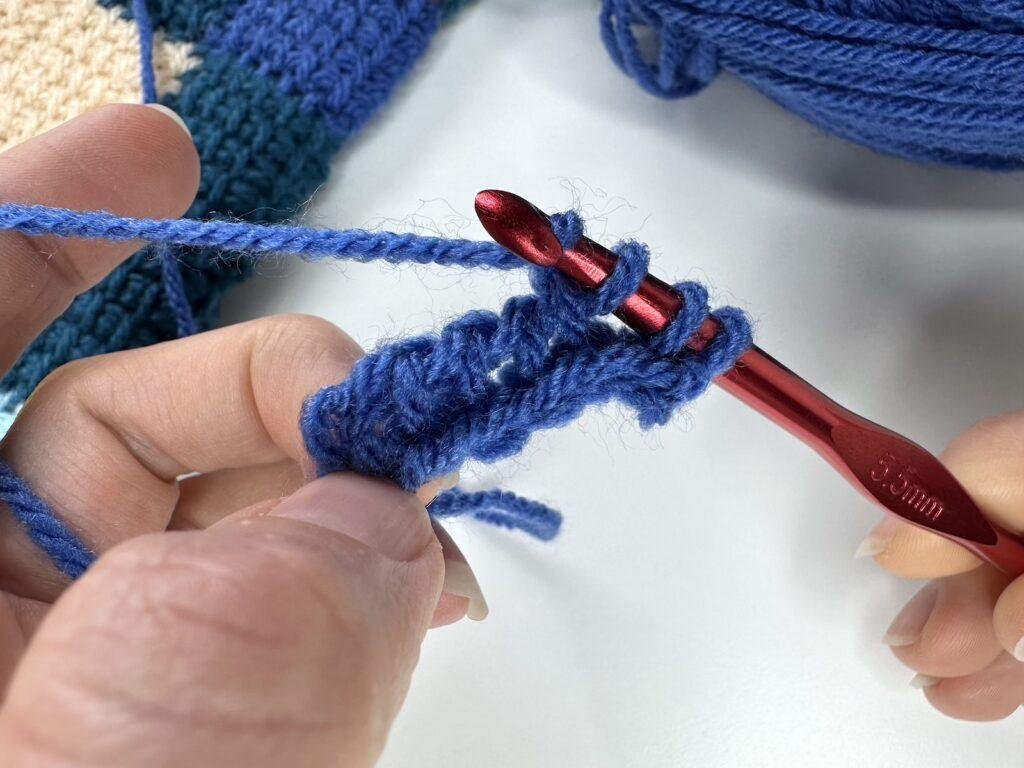
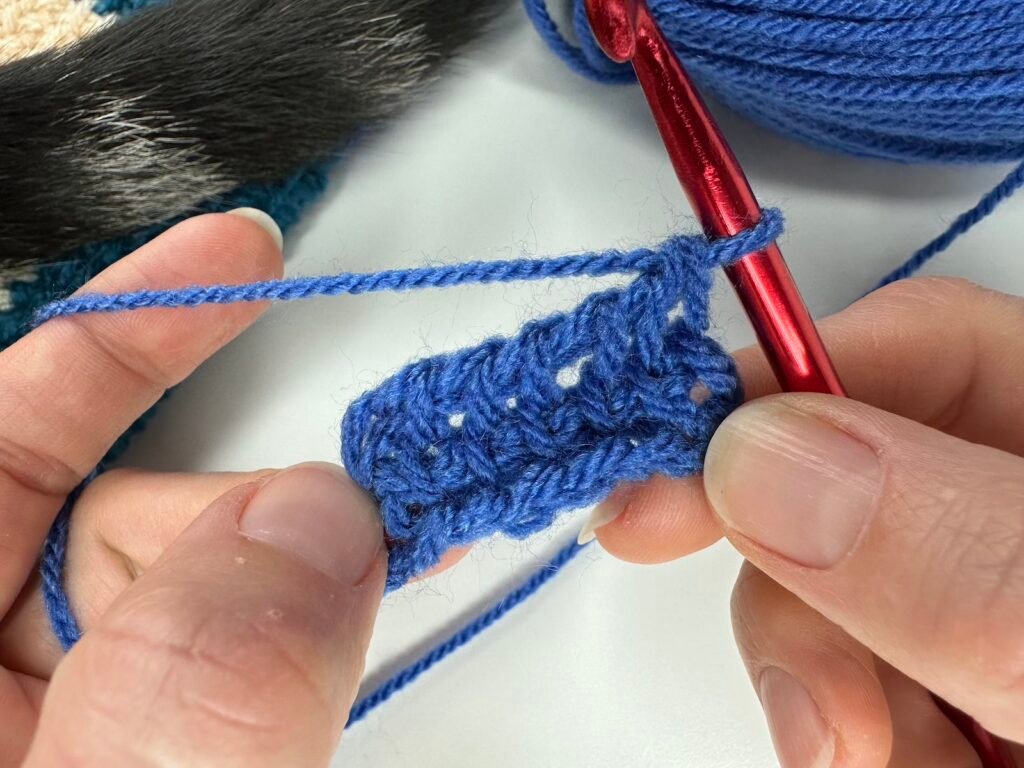
Step 4: Insert your hook under the vertical bar of the second stitch, yarn over and pull up a loop. Repeat this across going under each vertical bar across to last stitch. This is called the Forward Pass.
Step 5: For the last stitch, insert the hook into the 2 vertical bars of the last stitch, which you will find by turning the edge towards you. Yarn over and pull through both vertical bars on the hook.
Step 6: Repeat step 3 to complete the Reverse Pass.
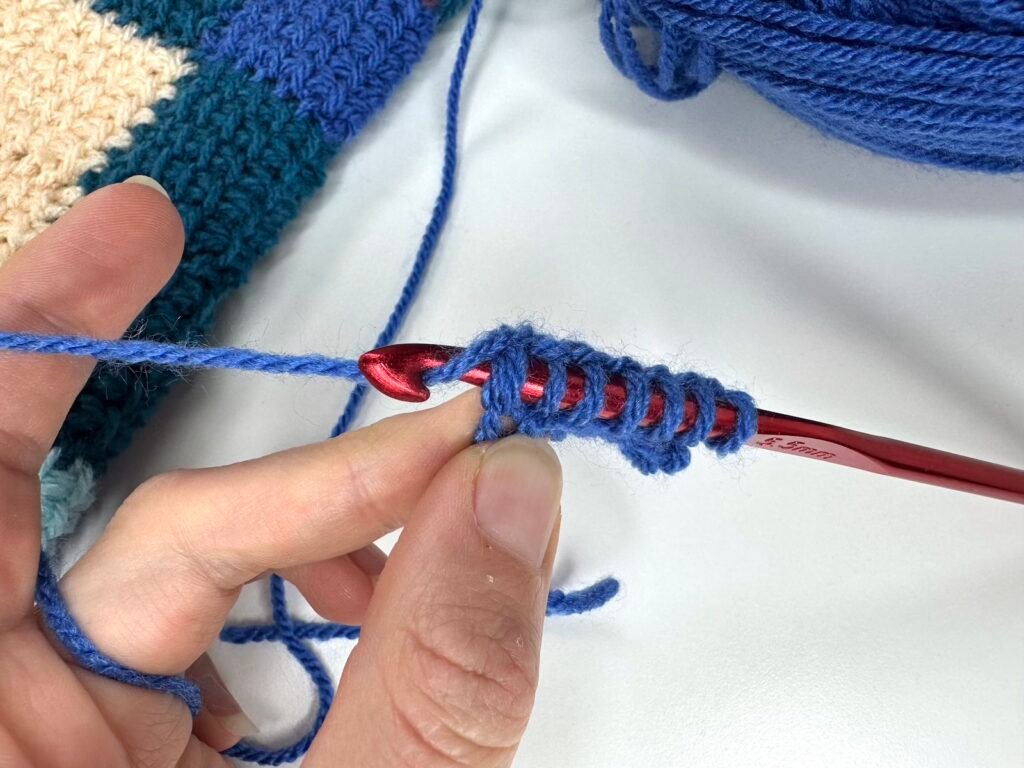
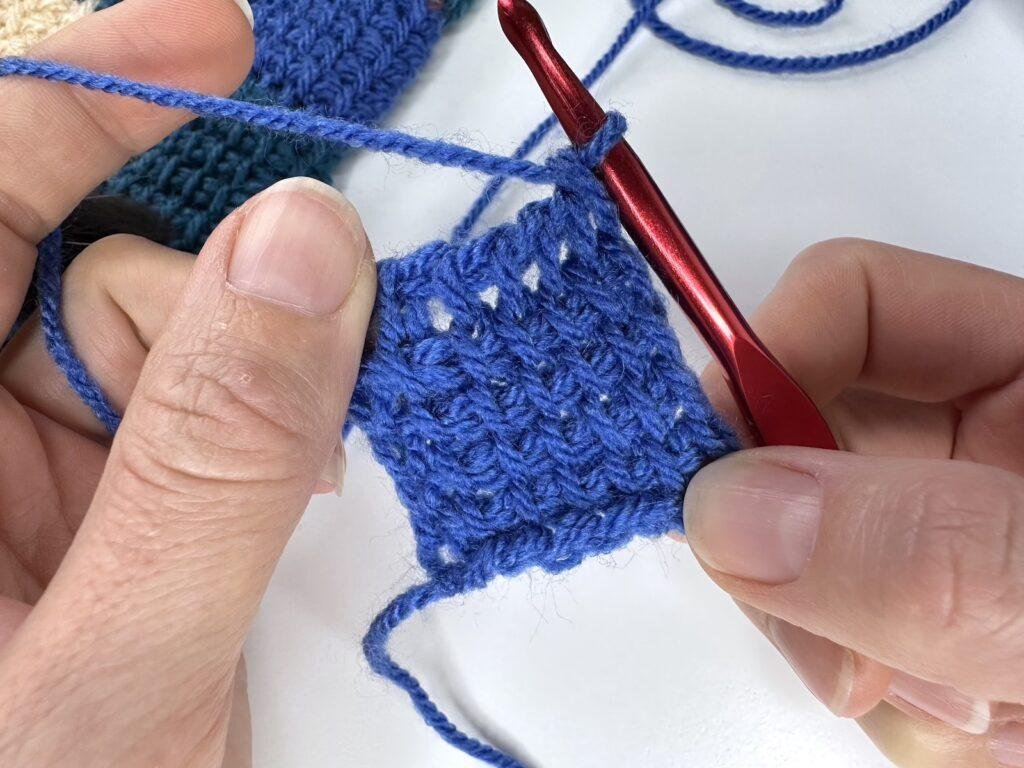
Step 7: Repeat steps 4 to 6 three more times, so that you have 5 rows including the very first set up row.
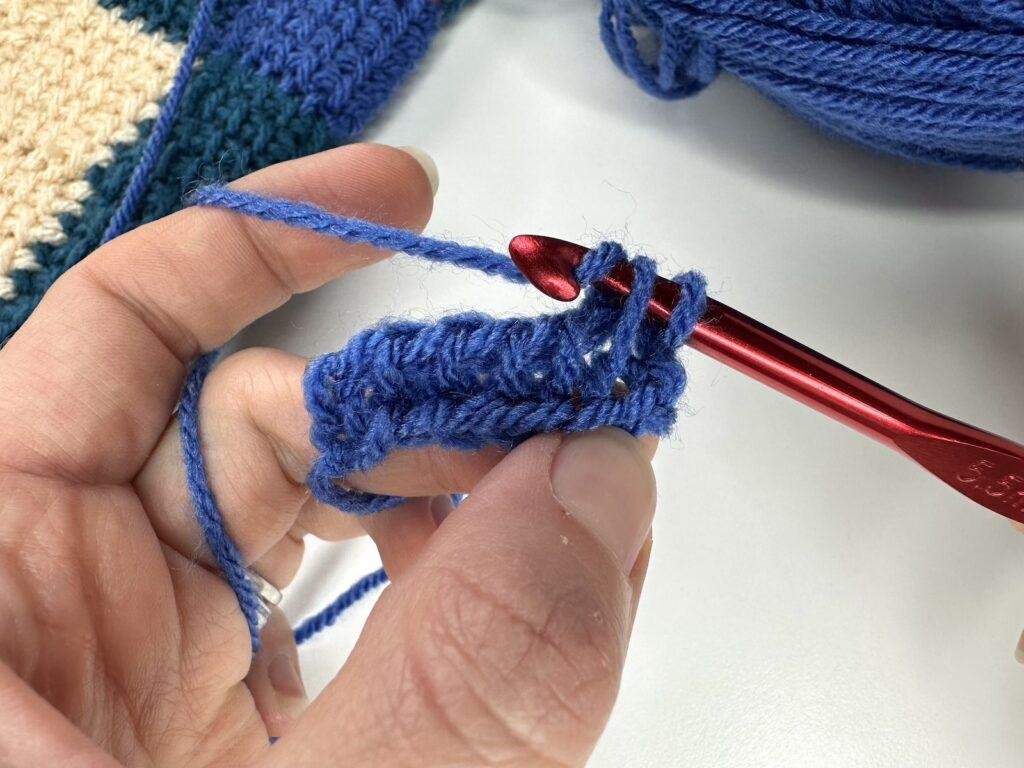
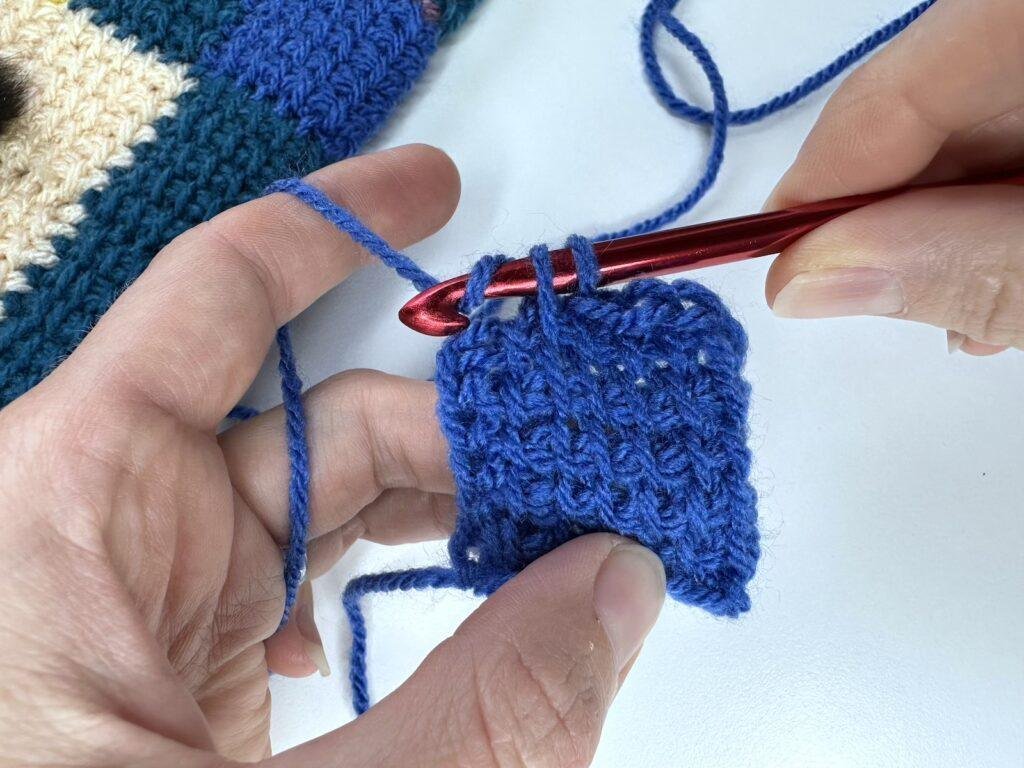
Step 8: To bind off your square, insert the hook into the vertical bar of the second stitch as before, yarn over and pull up a loop, then pull through the loop on your hook as well, leaving 1 loop on your hook. Repeat this across the row.
Fasten off at the end.
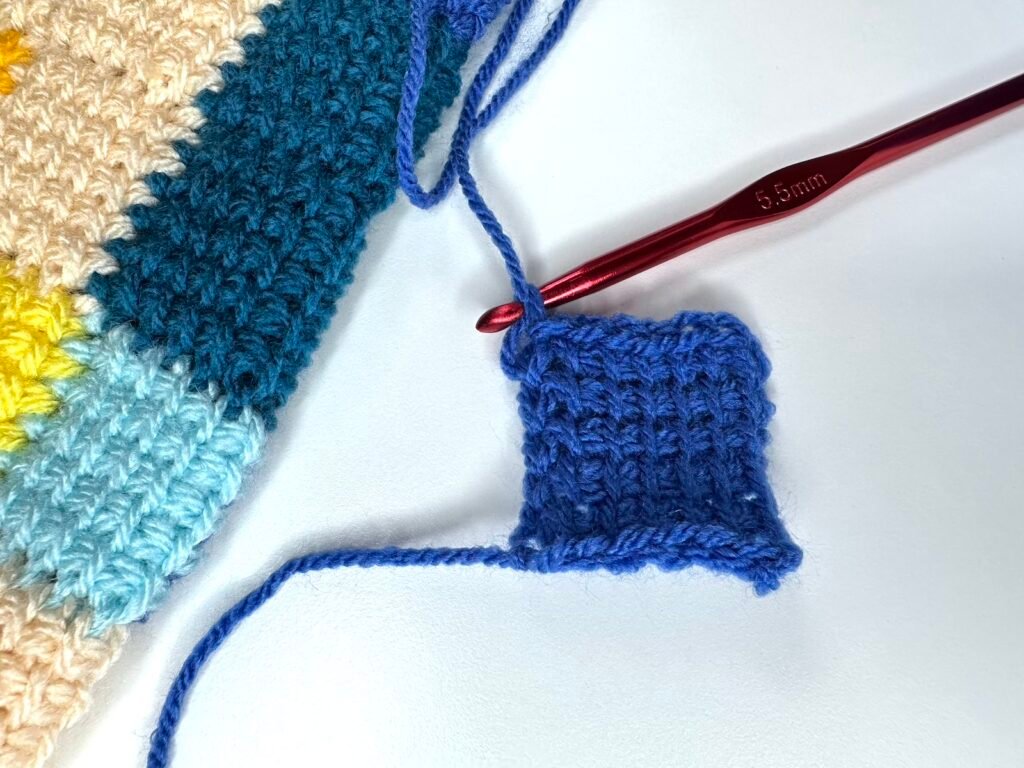
This is your first square completed. You only need 1 first square in the project. The next square you’ll need to learn is an initial square, so head on over to that tutorial once you are happy with your first square.
Tips for Crocheting Tunisian Entrelac
- Keep your stitches nice and loose, particularly on the bind off.
- Pull up your stitches to their full height in the forward pass to ensure the stitches don’t end up too tight.
- Mark the last stitch with a stitch marker to help see where to insert your hook on the next row.
- Use a hook that is 1 size (1mm) larger than the recommended for your yarn.
What next?
After completing your first square, there are 3 more squares to learn, and then you’ll easily be able to make the Tunisian Entrelac Temperature Shawl:
- Initial Square – https://concretegems.co.uk/tunisian-crochet-entrelac-initial-square
- Final Square – https://concretegems.co.uk/tunisian-crochet-entrelac-final-square
- Joining Square – https://concretegems.co.uk/tunisian-crochet-entrelac-joining-square
I hope you’ve enjoyed this tutorial, please do stick around and see what else you’d like to try on my website. You can find my other stitch tutorials here. You might like to learn the Waistcoat stitch!
I’m Gemma, a crochet tech editor, designer and overall crochet enthusiast. I’m also a mum of 3 kids, and enjoy running, reading, walking and crafting, but mostly crochet!
Sign up to my mailing list for the latest news, pattern releases and special offers here
If you enjoyed learning how to start Tunisian Crochet Entrelac or maybe made a project using this tutorial, please consider sharing it to social media tagging @concretegemscrochet
Join the Concrete Gems Crochet Community for pattern support!
I have lots of crochet stitch tutorials over on my YouTube channel so please do check them out. Here are some you might like:
- Crab stitch
- Double treble crochet stitches
- Even berry crochet stitch
- Stacked double crochet
- Crunch stitch
More Crochet Stitches
Find me on Facebook or Instagram @concretegemscrochet or drop me a message if you have any questions.
What Projects can I make with Tunisian Crochet?
If you enjoyed learning how to do Tunisian Crochet in the entrelac style, then you might like to learn some other Tunisian Crochet stitches:
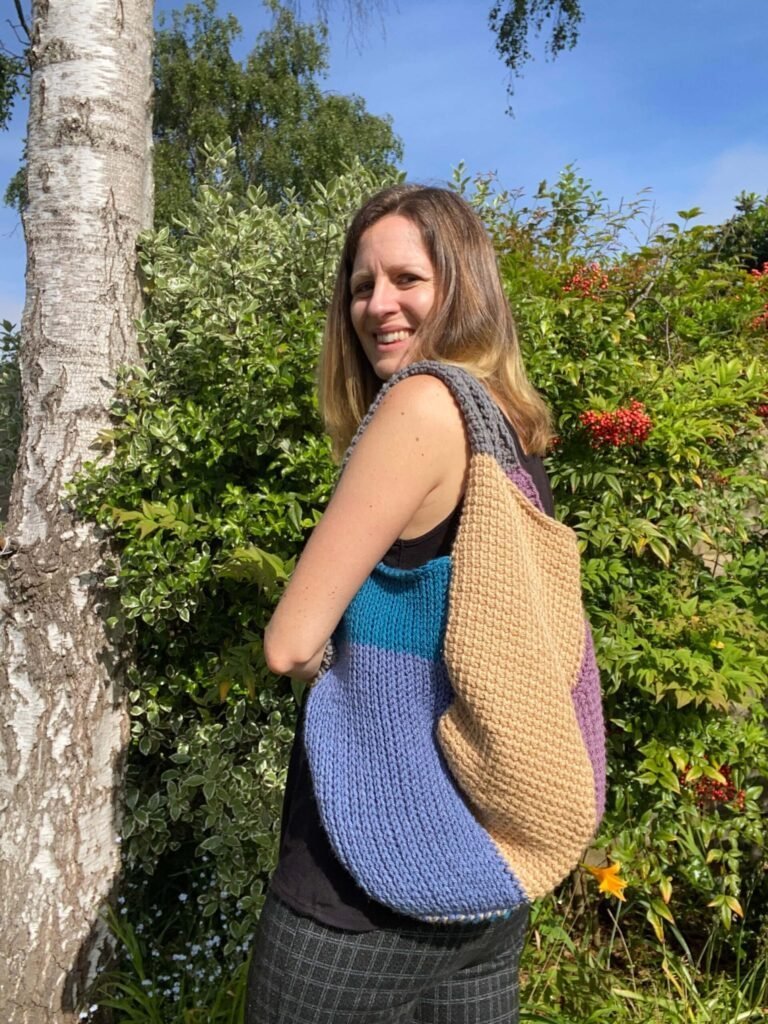
This roomy and comfy Tunisian Crochet market bag is not only practical but also a delightful exploration of Tunisian crochet techniques. Try your hand at a new technique with this Tunisian Crochet pattern.
Other crochet patterns you might enjoy
Don’t forget to check out my crochet patterns for more crochet inspiration.
- Simple Crochet Triangle Shawl Pattern – easy yet stunning with a gorgeous drape
- Easy Crochet Cushion Cover Free Pattern – a geometric mosaic crochet design
- Christmas Wreath Crochet Pattern – quick, easy and fun with a woodland theme
Thanks for reading and happy crocheting! 🧶
4 Comments