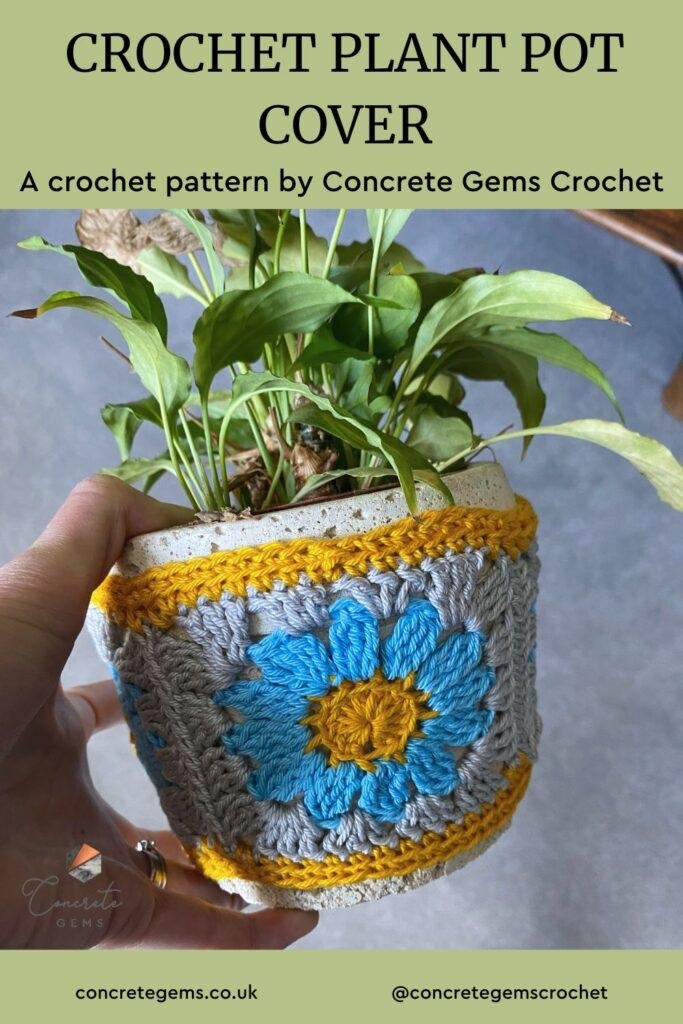
Add a handmade touch to your houseplants with this Crochet Plant Pot Cover Pattern with Granny Squares! This easy-to-follow pattern creates a beautiful plant pot cosy made from cheerful flower granny squares – perfect for brightening up your home décor or giving as a thoughtful gift.
I don’t know about you, but I have lots of lovely houseplants but some of the pots are really looking a bit shabby and old. And I’ve got some that don’t at all match the decor of the room! Definitely time for a crochet glow up!
These crochet plant pot holders can be made with any yarn, to fit any sized plant pot! Plus they are a great stash buster too!
This pattern includes clear, step-by-step instructions to help you create a beautiful plant pot cozy that’s customised to your needs. There’s also a video tutorial to help you with any tricky bits!
Disclosure: This post may contain affiliate links. This means we may receive a commission if you click a link and make a purchase. However, this does not influence our product recommendations, which are based on honest reviews and genuine enthusiasm. Read my Privacy Policy for more information.
You’ll be amazed at how easy it is to customise your design to make it perfect for you!
How do you make a crochet plant pot cover?
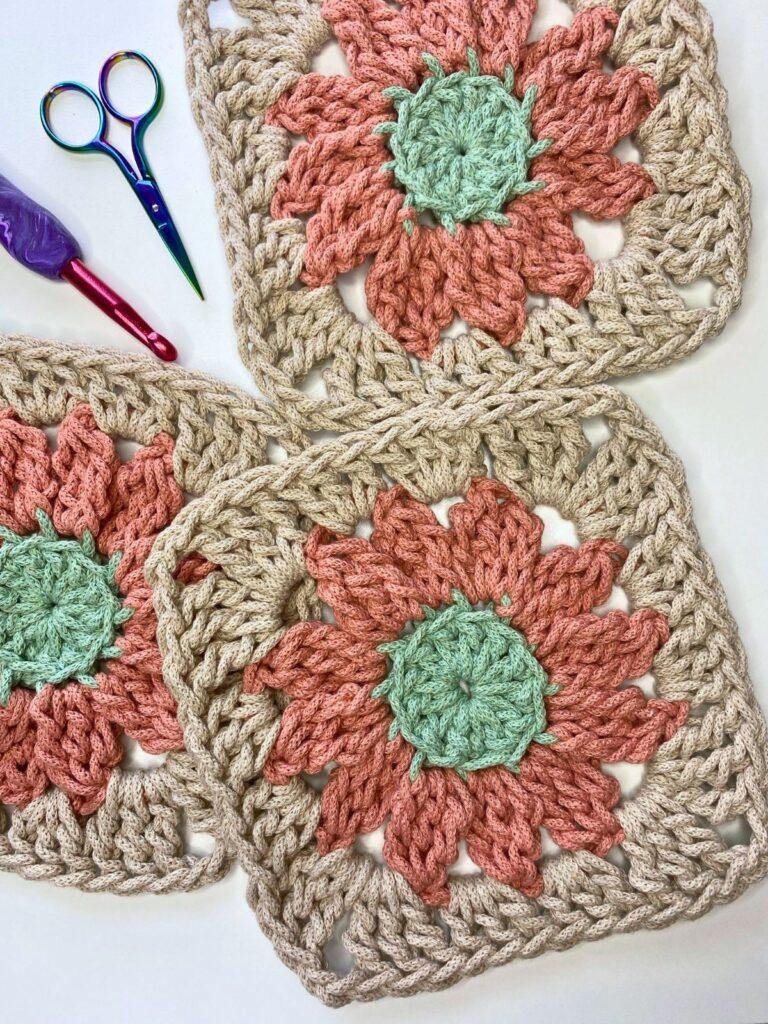
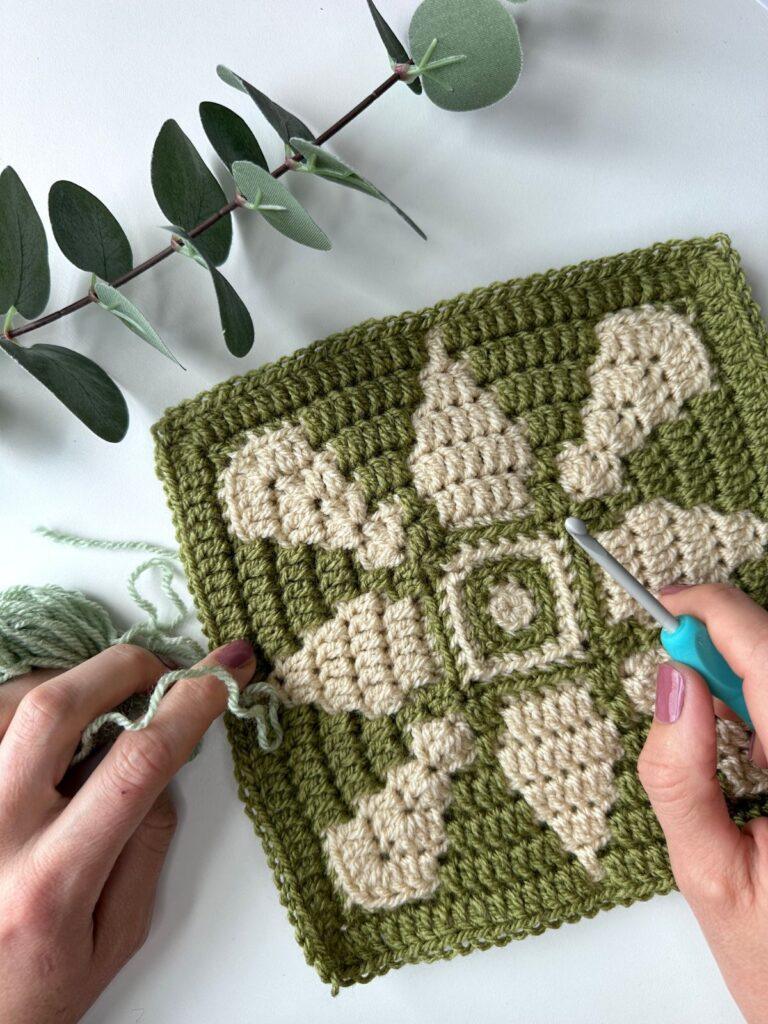
We start by working out the plant pot and yarn we’re going to use, before crocheting the first flower granny square. Once this is blocked, we can measure it and work out how many to make.
After making the number of motifs needed, they are then joined, before a simple edging is added to the top and bottom.

Yarn options
For your crochet plant pot holder, you can use any cotton yarn you would like.
Consider the size of the plant pot you would like to make your cover for. A thick braided cord would not be any good for a small plant pot, and conversely a fine weight yarn would not be large enough for a giant planter.
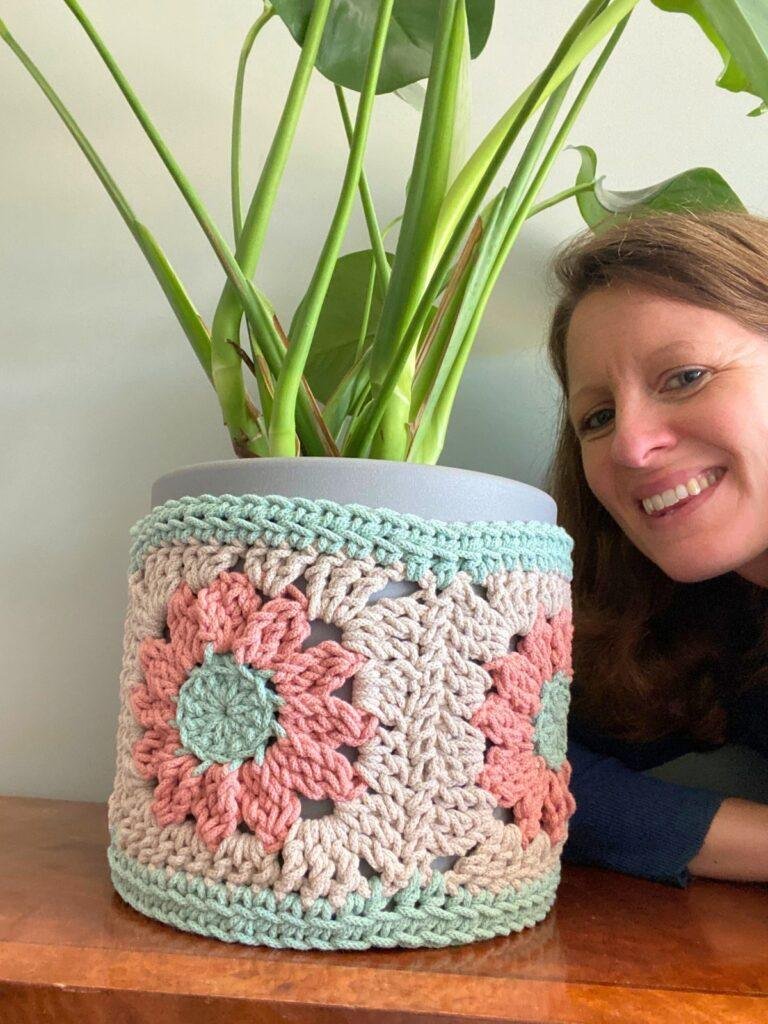
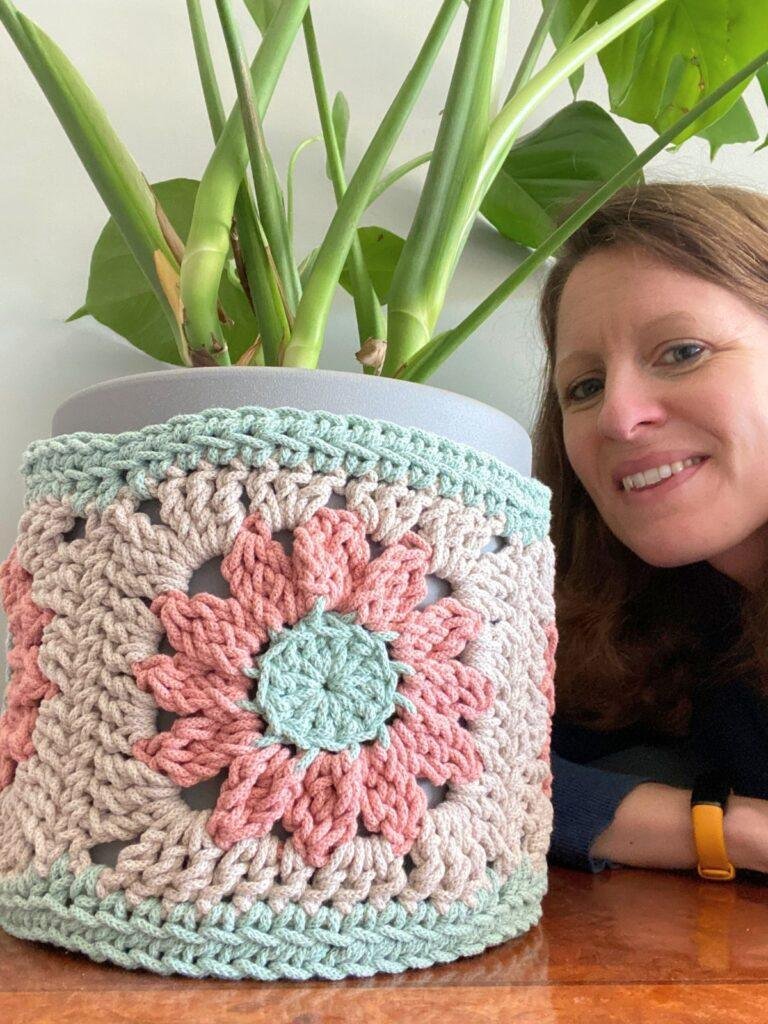
For my large plant pot cover, I used 3mm Junior Bobbiny Cotton Cord, 100% recycled cotton, (250g/8.8oz, 100m/110yds) in Aloe (Yarn A), Blush (Yarn B) and Beige (Yarn C) with an 8mm hook.
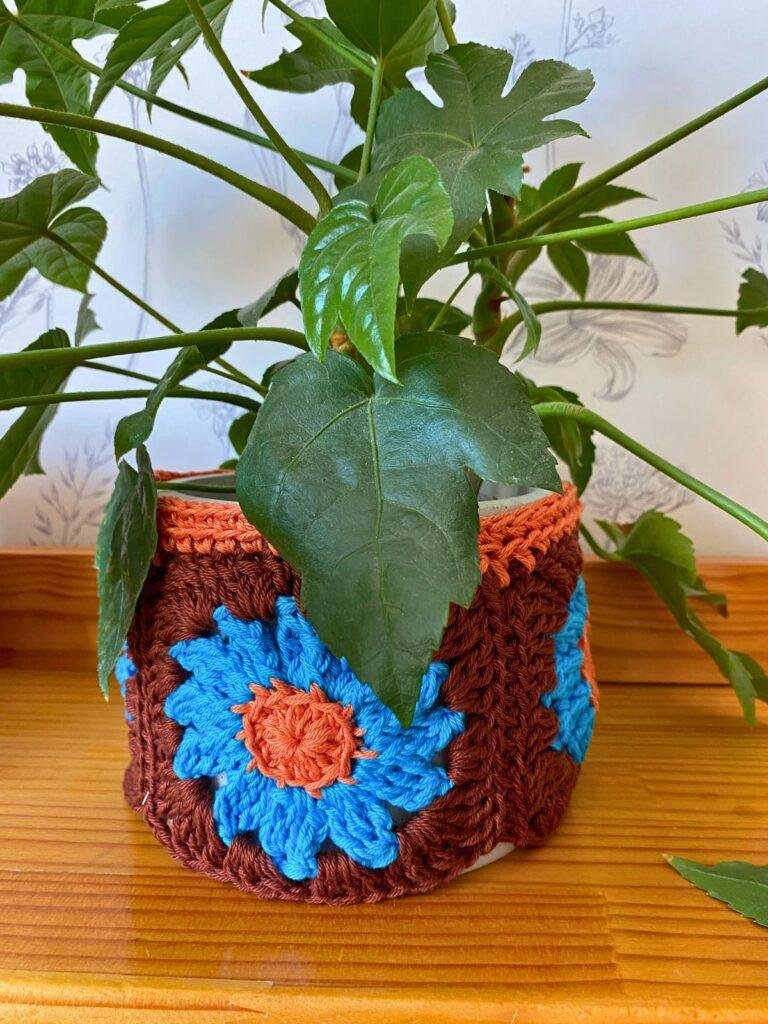
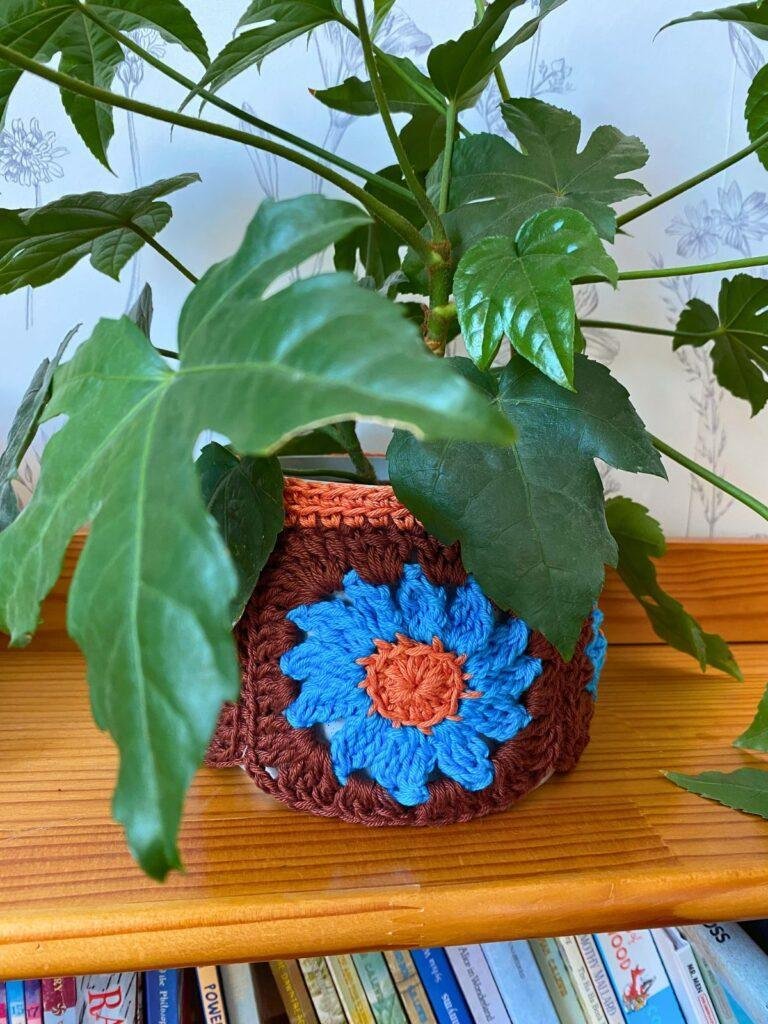
For my smaller two covers, I used Yarn and Colors Must-Have, 4 ply, 100% cotton, (50g/1.76oz, 125m/137yds) with the bigger one made holding 2 strands together.
The small one used a 3mm hook and the bigger one used a 5mm hook.
Yarn Alternatives
This pattern is designed to be used with any yarn weight. Choose a yarn that is thicker for a larger plant pot or thinner for a smaller one. You can hold two strands together if liked too! See below about customising your design to fit your plant pot for more information before you choose your yarn.
Here are a few alternative options in varying weights:
3mm Junior Bobbiny Cotton Cord, 100% recycled cotton, (250g/8.8oz, 100m/110yds)
Comfy Sport, 75% Pima Cotton, 25% Acrylic, (50g/1.76oz, 124m/136yds)
Animation DK by WeCrochet, 100% Mercerized Cotton, (50g/1.76oz, 127m/139yds)
MillaMia Naturally Soft Cotton Sport, 100% Cotton, (50g/1.76oz, 165m/180yds)
Sirdar Stories DK, 60% Cotton 40% Acrylic, (50g/1.76oz, 140m/153yds)
Yarn and Colors Must-Have, 100% cotton, (50g/1.76oz, 125m/137yds)
Supplies you will need
3.0mm Crochet Hook for DK or hook that is 1mm smaller than the recommended hook for your chosen yarn
A tapestry needle for working in ends
A plant pot
Sizing
This pattern is designed so that you can choose your own yarn and make your Granny Plant Pot Cover to fit your plant pot.
How to get the pattern
There are a few different ways that you can get your crochet plant pot pattern.
You can carry on scrolling down and read the pattern for free on the blog in US crochet terms. The blog has ads on it, which is how I am able to offer it for free. Please do bookmark the page and come back to it as you work on your pattern though, rather than trying to print it out. Spending time on this page is how I get paid.
Alternatively you can purchase a premium pdf version of the pattern, which includes mosaic crochet charts, stitch tutorials, links to lots of video tutorials and full explanations. The premium pattern comes in US and UK terms. And of course, if you purchase the pattern, it is yours to keep, print and make notes on too.
PLEASE NOTE: The premium pattern is a pdf crochet pattern, written in English. It is not a finished project. You will receive a digital download upon completion of purchase.
Included in the premium pattern:
- A 11 page downloadable PDF with easy-to-follow instructions in US and UK crochet terms
- Detailed stitch guides and tips for perfect results
- Yarn recommendations and size adjustments
- Pattern support if needed
- An accompanying video tutorial
Difficulty level is Easy.
Tension:
The tension will differ depending on your chosen yarn. See below for details on choosing your yarn and working out your size based on your plant pot.
Customising to Fit your Plant Pot
To work out the yarn and number of granny squares you’ll need, first find the plant pot you’d like to use. Remember that the height of your granny square plus the border, will need to be shorter than the height of your plant pot.
Measure the circumference of your plant pot. Mine was 29 inches (74cm).
If your plant pot is over around 20 inches (51cm) around, then you are going to want to use a bulky weight yarn or a braided cord like I did.
Yarn
If you pot is between 14 inches (35cm) and 20 inches (51cm), you can use a light DK weight or worsted weight, or use a fine weight with 2 strands held together.
If your pot is up to 14 inches (35cm) maximum, then you will want to use a thin yarn, like a fine weight.
So now that you’ve made your yarn decision, choose a hook to match your yarn and make your first granny square. Because the square is so quick to make, there is no need to make a gauge swatch, as it would take the same amount of time.
Calculating the Squares
Once you have your first granny square, give it a quick block and then measure it. This is also a good chance to hold it up to your plant pot and see what it’s going to look like.
Next, take the circumference of your plant pot and divide it by the width of your granny square. Round it to the nearest whole number and this is the number of squares you’ll need to make.
Tip: if your number is very close to 0.5 between the 2 numbers I would round down rather than up. The join will add a small amount to the width and you don’t want a cover that falls down all the time.
For example, my pot was 29 inches (74 cm). My square was 7 inches (18cm). So 29 / 7 =4.143, I rounded down to 4 and made 4 granny squares for my planter.
My pot was 9 inches (23cm) tall. And so a 7 inch (18cm) tall square worked perfectly.
Abbreviations
2 or 3tr-cl – 2 or 3 treble cluster
blo – back loops only
ch-sp – chain space
dc – double crochet
hdc – half double crochet
mr – magic ring
rep – repeat
RS – right side
sk – skip
ss – slip stitch
st(s) – stitch(es)
tr – treble
WS – wrong side
[…] – stitch count
* – repeat the instructions from * around
Pattern Notes
- Read through the pattern completely before starting and refer to the stitch tutorials as needed.
- Stitch counts are given in this pattern in [ ] at the end of each row or round. Where no stitch count is given, it is the same as the previous row or round.
- Beginning ch1 does not count as a stitch.
- A stacked dc counts as a dc.
- A stracked tr and 2tr-cl counts as a 3tr-cl.
Special Stitches
Below are the instructions for all the special stitches you will need for your crochet plant pot cover free pattern.
3 treble cluster (3tr-cl)
The 3tr-cl stitch is used to create the petal shape. The 2tr-cl is made in the same way with 1 less treble.
- Yarn over twice, insert your hook into the stitch.
- Yarn over and pull through a loop.
- Yarn over and pull through 2 loops.
- Yarn over and pull through 2 loops (1 petal part-created).
- Yarn over twice, insert your hook into the same stitch.
- Yarn over and pull through a loop.
- Yarn over and pull through 2 loops.
- Yarn over and pull through 2 loops (2 petals part-created).
- Repeat steps 5 to 8 again (3 petals part-created).
- Yarn over.
- Pull through all 4 loops on your hook to complete the 3tr-cl.
You can see this process in full detail in the 3 treble cluster video tutorial.
Stacked double crochet
The stacked dc is a lovely alternative to a turning chain. It creates a cleaner, straighter edge for your crochet projects without gaps or uneven edges. To create a stacked treble, simply stack another single crochet on top.
- Insert your hook straight into the very first st of the row/round without chaining first.
- Yarn over and pull through, then yarn over and pull through 2 (completing a single crochet).
- Insert your hook now into the vertical bar of the single crochet st that is furthest from your hook side.
- Yarn over and pull through, then yarn over and pull through 2 (completing a stacked double crochet).
This stitch is shown in full detail in this stacked double crochet video tutorial.
Invisible join
An invisible join is a ‘fake’ stitch that replaces the slip stitch join and creates a smooth finish.
Cut your yarn leaving a 4” / 10cm tail and pull the tail all the way through the last stitch. Thread this end onto a needle. Insert your needle under both of the top loops of the first stitch of the round, as you would with your hook for a normal sc. Pull tight, but not too tight. Then insert your needle into the top of the last stitch you crocheted, straight down through the middle. Pull tight, but try to make the ‘fake’ stitch you’ve created the same size as the other stitches. Weave in the end to secure.
Magic ring
The magic ring is a fantastic way to start crocheting in amigurumi, and any crochet in the round. It can be a bit complicated though, so do check out my YouTube tutorial for a visual guide.
- Lay the tail end of the yarn over your palm and wrap the ball end around your first 2 fingers. Cross the yarn over and hold that point with your thumb and forefinger. 2. Pull the loop off your fingers, insert your hook into the hole and grab the ball end of the yarn with your hook. 3. Pull the yarn back through the loop. At this point, readjust your hand so you are holding the yarn as you normally would. 4. Put your middle finger and ring finger into the loop to hold it. Then yarn over and pull through to secure your ring.
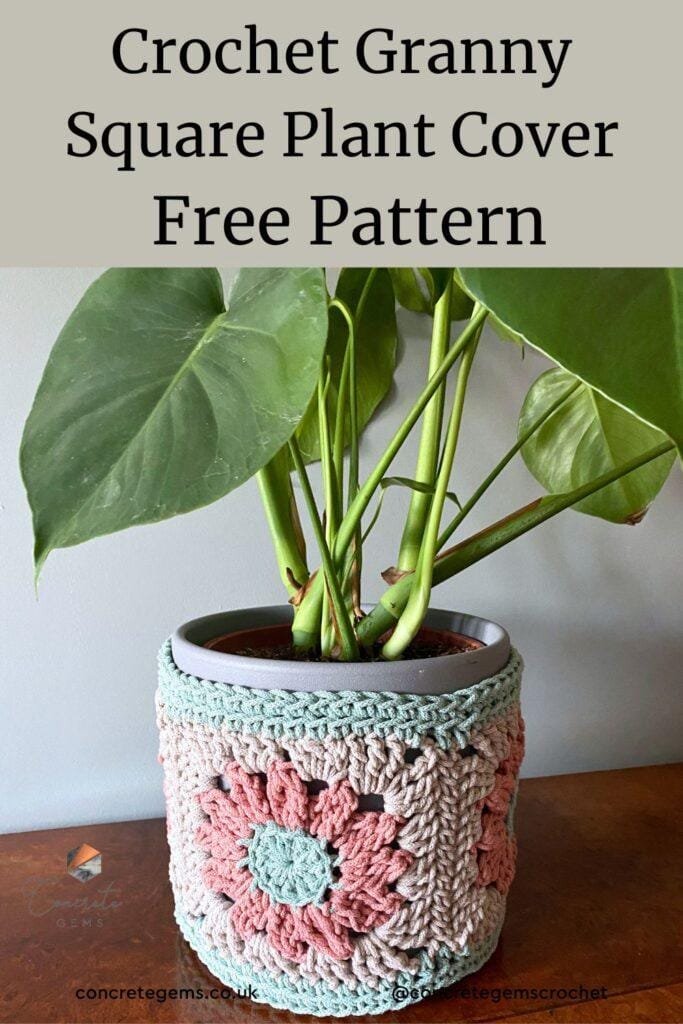
Pin this free Crochet Flower Pot Cover Pattern to your crochet Pinterest board for later
Prefer a Video Tutorial?
If you prefer crocheting from a video tutorial, hop on over to my YouTube channel and watch as I make my own crochet plant pot holder.
The video will show you how to make your own crochet plant pot cover, including details on how to work out the yarn weight and how many granny squares to make.
Crochet Plant Pot Cover Free Pattern
US Terminology.
To unlock the free, exclusive content from Concrete Gems Crochet, all you have to do is enter your email address and create a password in the box below.
Every time you see Grow Exclusive Content from then on, you will be able to log in with your username and password and view the content. This also applies on other blogs, who use Grow.
Thank you for subscribing! I hope you enjoy the free patterns on this site. I can’t wait to see what you create! Please do share your crochet makes tagging @concretegemscrochet
Border
Round 1: Join Yarn A in any stitch along the top of any square, sc in each st along the square, hdc in the 2 ch-sps and seam between the squares, repeat around, ss in first st to join.
Round 2: ch1, sc in blo around, ss in first st to join or use an invisible join.
Repeat around the bottom of the plant pot cover.
Fasten off and weave in all ends.
Fit over your plant pot and enjoy.
Check out my other crochet patterns for more crochet inspiration.
Pattern help
There is a lot more detail regarding the special stitches in the premium pdf pattern of the crochet plant pot cozy, including lots of charts and tutorials. Also please do check out the stitch tutorials on my YouTube channel for extra guidance.
If you are struggling with the pattern, please don’t hesitate to reach out.
Find me on Facebook or Instagram @concretegemscrochet or drop me a message.
Copyright Notice
The Granny Plant Pot Cover crochet pattern and all associated images are the intellectual property of Concrete Gems. It is strictly prohibited to share, copy, alter, or distribute this pattern in any form.
You are welcome to sell finished items made using this pattern on a small scale, provided you give design credit to @concretegemscrochet. Thank you for respecting the effort and creativity that went into creating this design.
What next?
I’ve really loved designing this crochet plant holder pattern for you and hope you have had fun making it. I’m Gemma, a crochet tech editor, designer and overall crochet enthusiast. I’m also a mum of 3 kids, and enjoy running, reading, walking and crafting, but mostly crochet!
Sign up to my mailing list for the latest news, pattern releases and special offers here
If you enjoyed making your crochet flower pot cover, please consider sharing it to social media tagging @concretegemscrochet
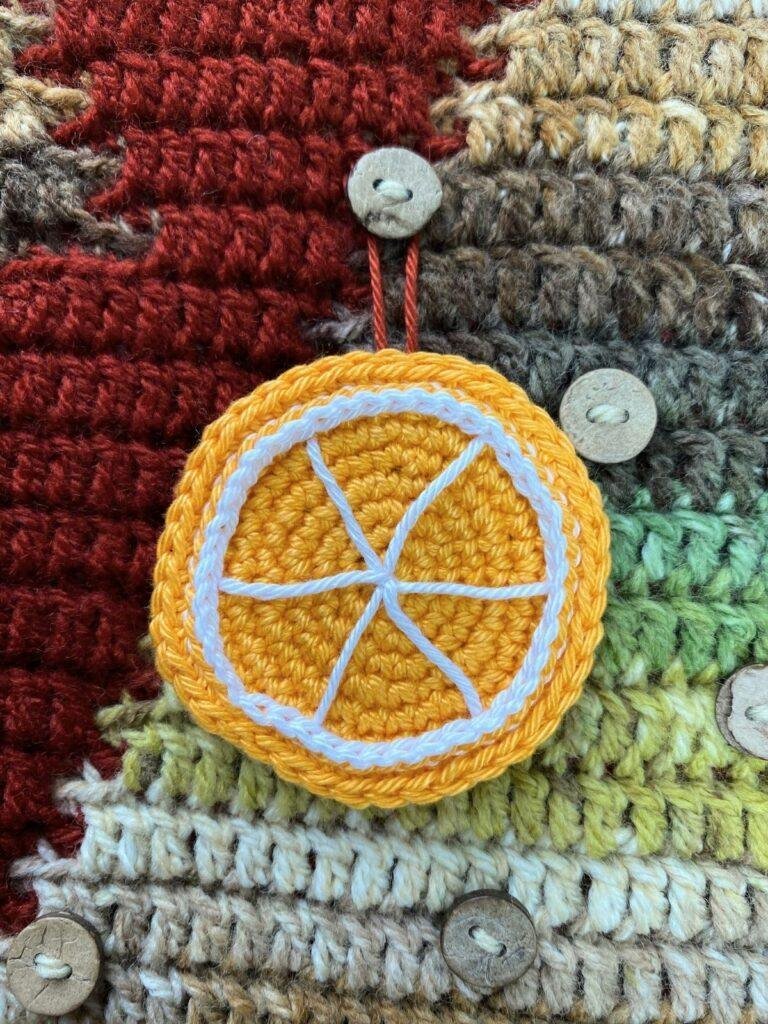
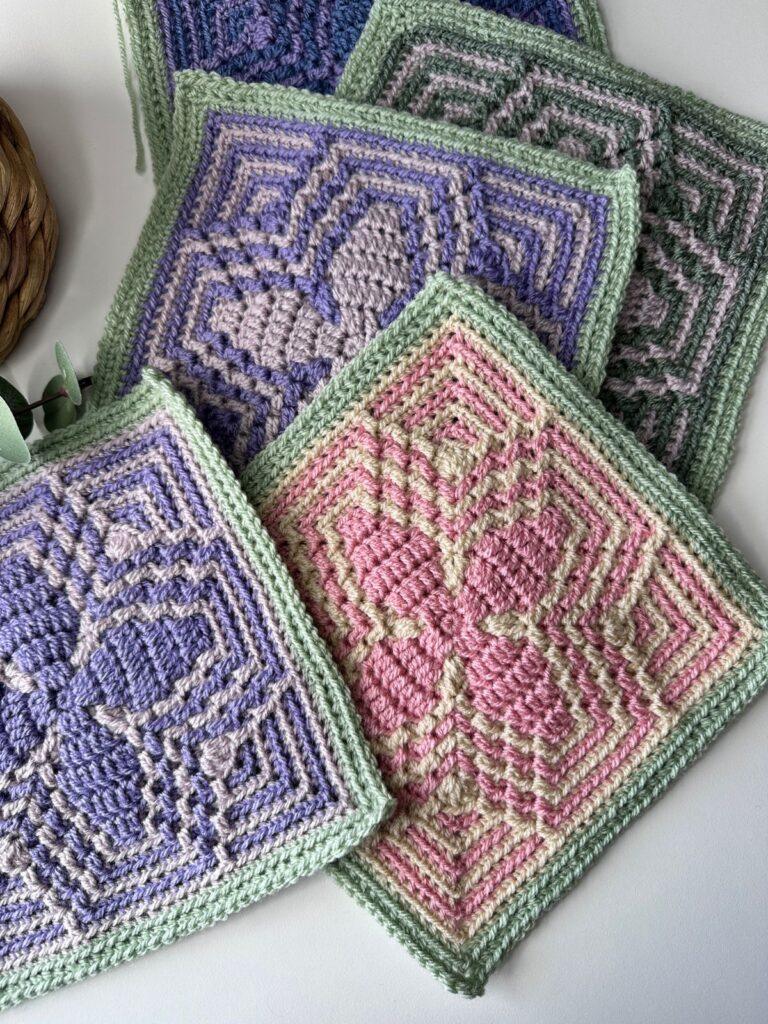
Other home decor patterns you might enjoy
If you enjoyed making this plant holder pattern, then you might also like these free crochet patterns:
- Snowdrop Crochet Pattern – a beautiful potted flower pattern for gifting or decorating
- Free Crochet Pumpkin Pattern – rustic, tweed pumpkins for year round decor
- Free Crochet Placemats Pattern – a great mosaic crochet stash buster pattern
Thanks for reading and happy crocheting! 🧶
4 Comments